Email Sentiment Analysis in 3 Steps
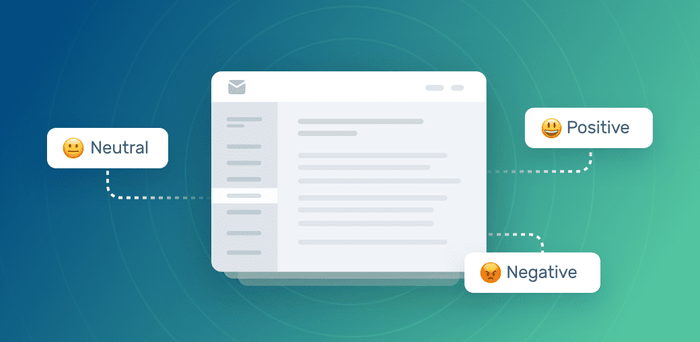
Sentiment analysis uses natural language processing to recognize the emotional tone behind words. Performing sentiment analysis on emails allows companies to know if ]incoming messages are positive, negative, or neutral, and provides them with real-time insights to prioritize accordingly.
Wondering how it works? Try this free sentiment analyzer to get a quick idea.
When you read an email from an angry customer complaining about a payment issue, you know you need to solve it ASAP. But with hundreds of emails entering your inbox every day, how can you identify which messages you need to tackle first?
In classifying your emails by sentiment, you can prioritize more urgent queries without them getting lost in an inundated inbox.
With a machine learning platform like MonkeyLearn, you can build a customized sentiment analysis tool, and train it using your own email data. This way, it can learn to associate emotions with words and expressions that frequently appear in your customer emails, and automatically tag them for you.
You can get started in less than a few minutes. Read on for a complete tutorial on how to perform sentiment analysis on email data.
Tutorial: How to Do Email Sentiment Analysis
MonkeyLearn is a user-friendly, no code, low code platform that can help you identify sentiment in emails. This tutorial will walk you through all the steps required to start analyzing sentiment on business emails right away:
- Data Gathering: Collecting Email Data
- Preparing and Cleaning Email Data
- Analyzing Sentiment of Incoming Emails
1. Data Gathering: Collecting Email Data
The first step of sentiment analysis is to gather relevant data. This data needs to be organized in a .csv file or a spreadsheet.
To build a customized sentiment analysis model, you’ll need to collect email data to:
- Train your sentiment analysis model (training data)
- Test your model using new, incoming emails (real-time data)
“Training data” is a collection of examples that your model will use as a reference to determine what makes an email positive, negative, or neutral. In this case, you’ll need to export historical email data from your inbox. Most email providers allow you to do this.
But what about gathering real-time data? Since your goal is to analyze the sentiment of incoming emails, you will need to set up an ‘automation rule’, otherwise known as a trigger, which starts when a new email reaches your inbox.
There are many tools that can help you do this.
With Zapier, for example, you can easily connect apps like Gmail, Outlook, and Front, with Excel or Google Sheets, and create rules to automatically tag emails in a spreadsheet. Once you log in, go to your dashboard and set the parameters to connect your apps.

2. Preparing and Cleaning Email Data
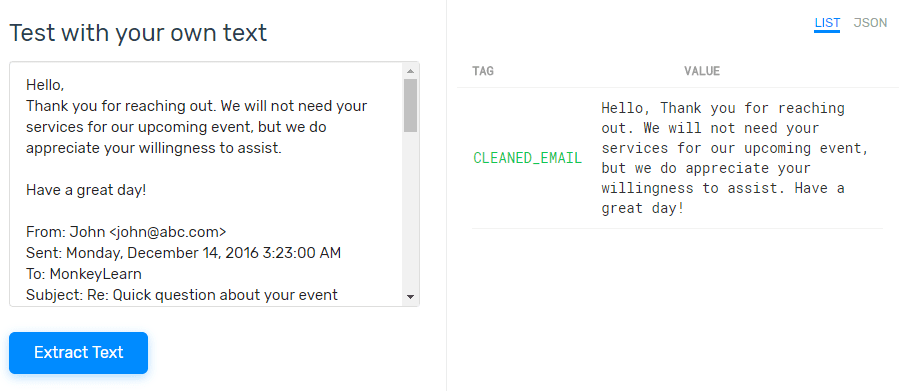
Now it’s time to prepare your data for the analysis. There’s usually a lot of noise in emails: signatures, reply headers, HTML code, file attachment names, and so on. It’s important to remove all these from your data and retain only the essential information that your model will use to capture sentiment.
MonkeyLearn provides two tools that can help you get rid of irrelevant information that will distort the the accuracy of your results:
- Email cleaner: use this tool to get rid of signatures, previous replies from email threads, and confidentiality clauses, to get a ‘clean’ version of the last reply to an email.
- Boilerplate extractor: this algorithm extracts text from HTML. It’s another way of cleaning your email data by removing stuff like templates, navigation bars, or ads.
You can use both tools through an API or connect them to third-party apps like Zapier, Google Sheets, RapidMiner, or Zendesk, via one-click integrations.
3. Sentiment Analysis on Incoming Emails
You can sort emails by sentiment using MonkeyLearn’s pre-trained models or by building your own models.
Let’s take a look at each of them:
Using a Pre-trained Model for Sentiment Analysis
Pre-trained models recognize sentiment in a variety of situations and can make highly accurate predictions.
Our sentiment analyzer doesn’t require any setup ‒ you can start using it right away. To upload your own batch of data or connect pre-trained models to other apps through the sentiment analysis API, or via direct integrations, you’ll need to sign up to MonkeyLearn.
Building a Custom Sentiment Analysis Model
Every industry has its own vocabulary. If you want a powerful sentiment analysis model that’s capable of detecting positive or negative, with a high sentiment score, in your specific domain, then you should train your own sentiment analysis model.
With MonkeyLearn, building a customized model is fast, simple and requires no technical abilities: you don’t need any machine learning or programming expertise. Sign-up for free to get started, it will only take you a few minutes! Then follow these simple steps:
1. Choose your model.
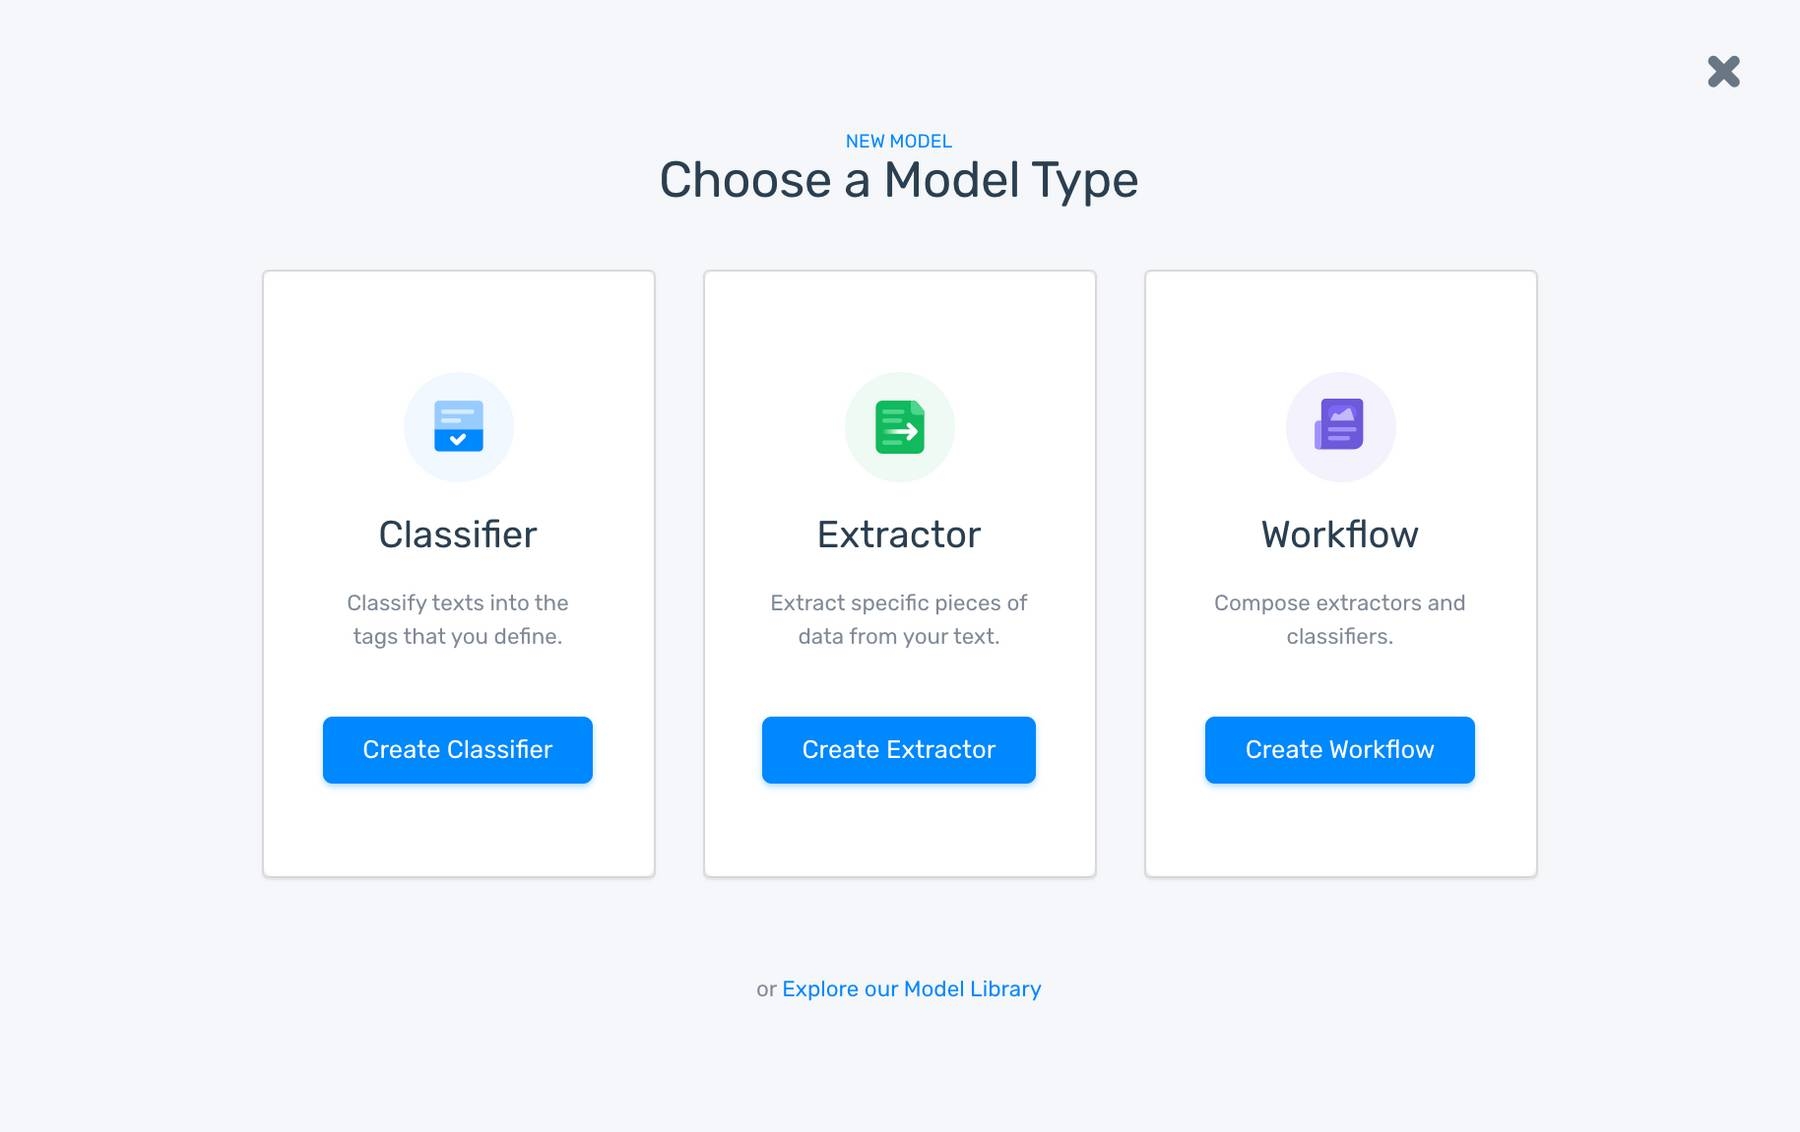
Go to the dashboard, click on ‘Create model’, and define which type of model you’d like to build. In this case, choose ‘Create Classifier’.
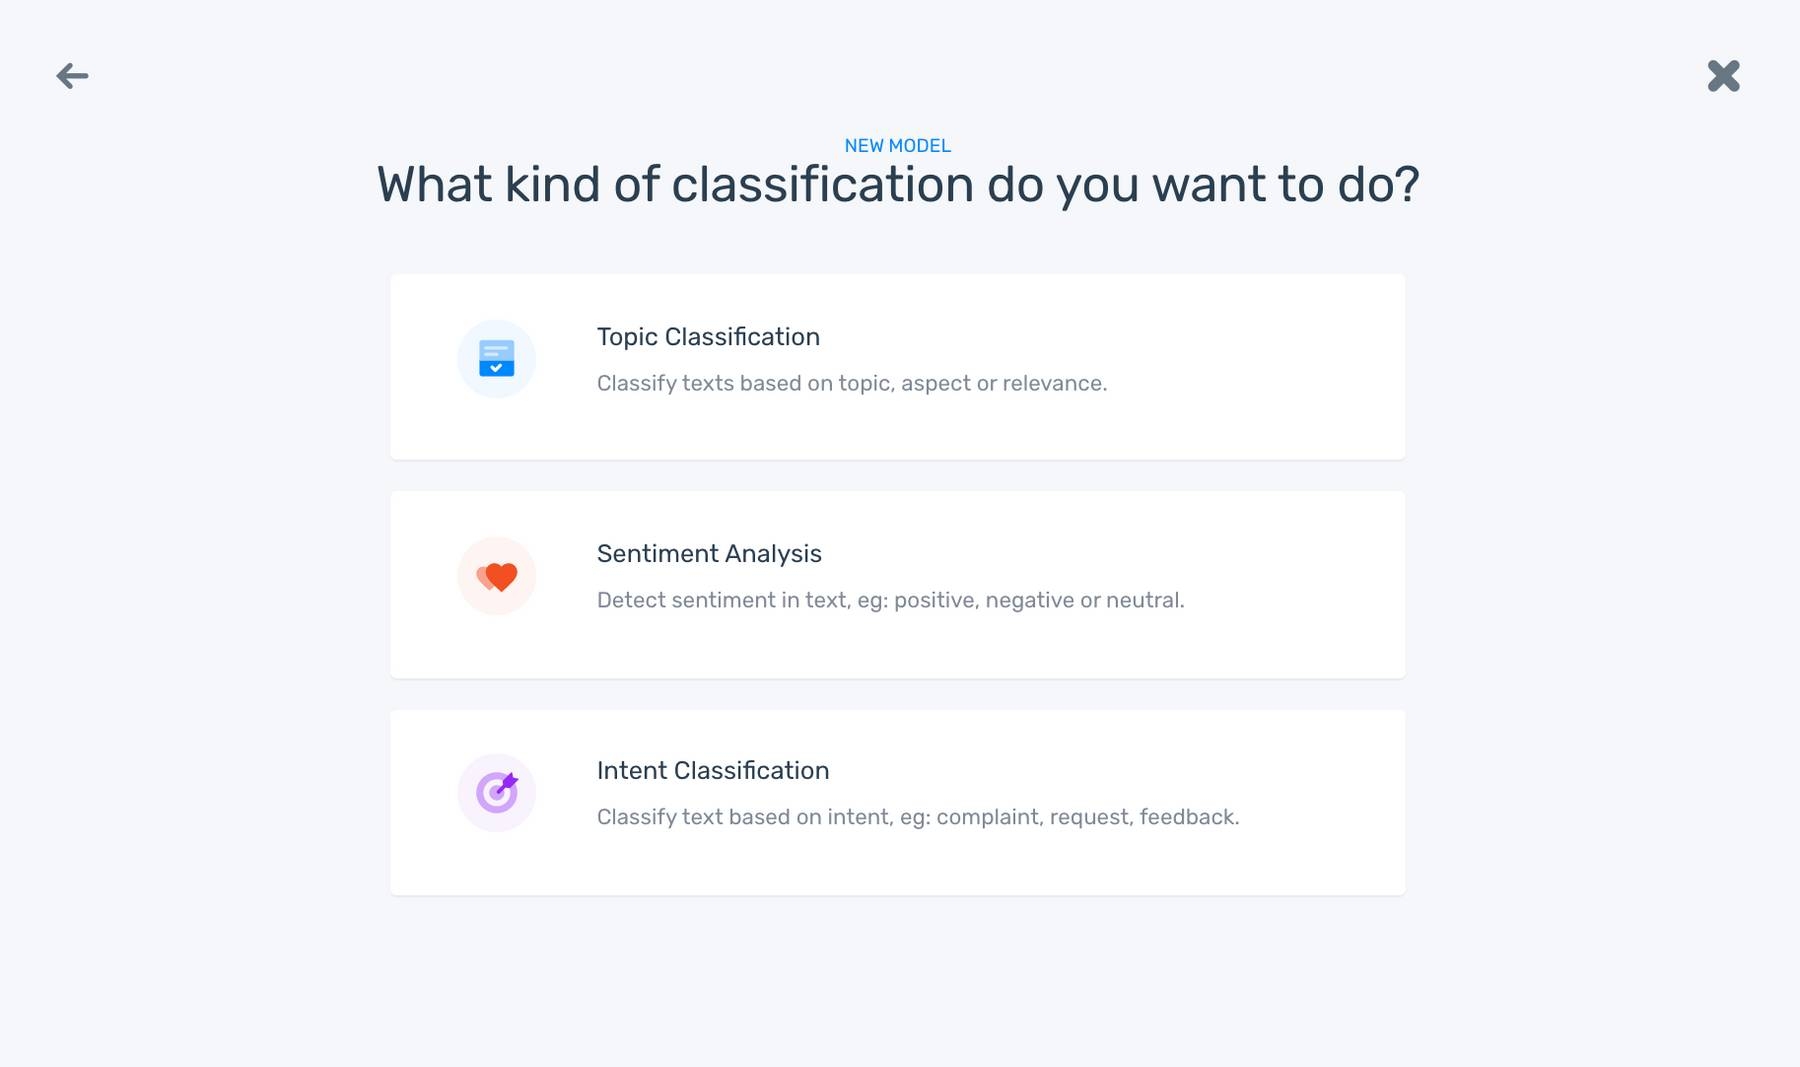
2. Choose the type of classifier you’d like to build. Click on ‘Sentiment Analysis’.
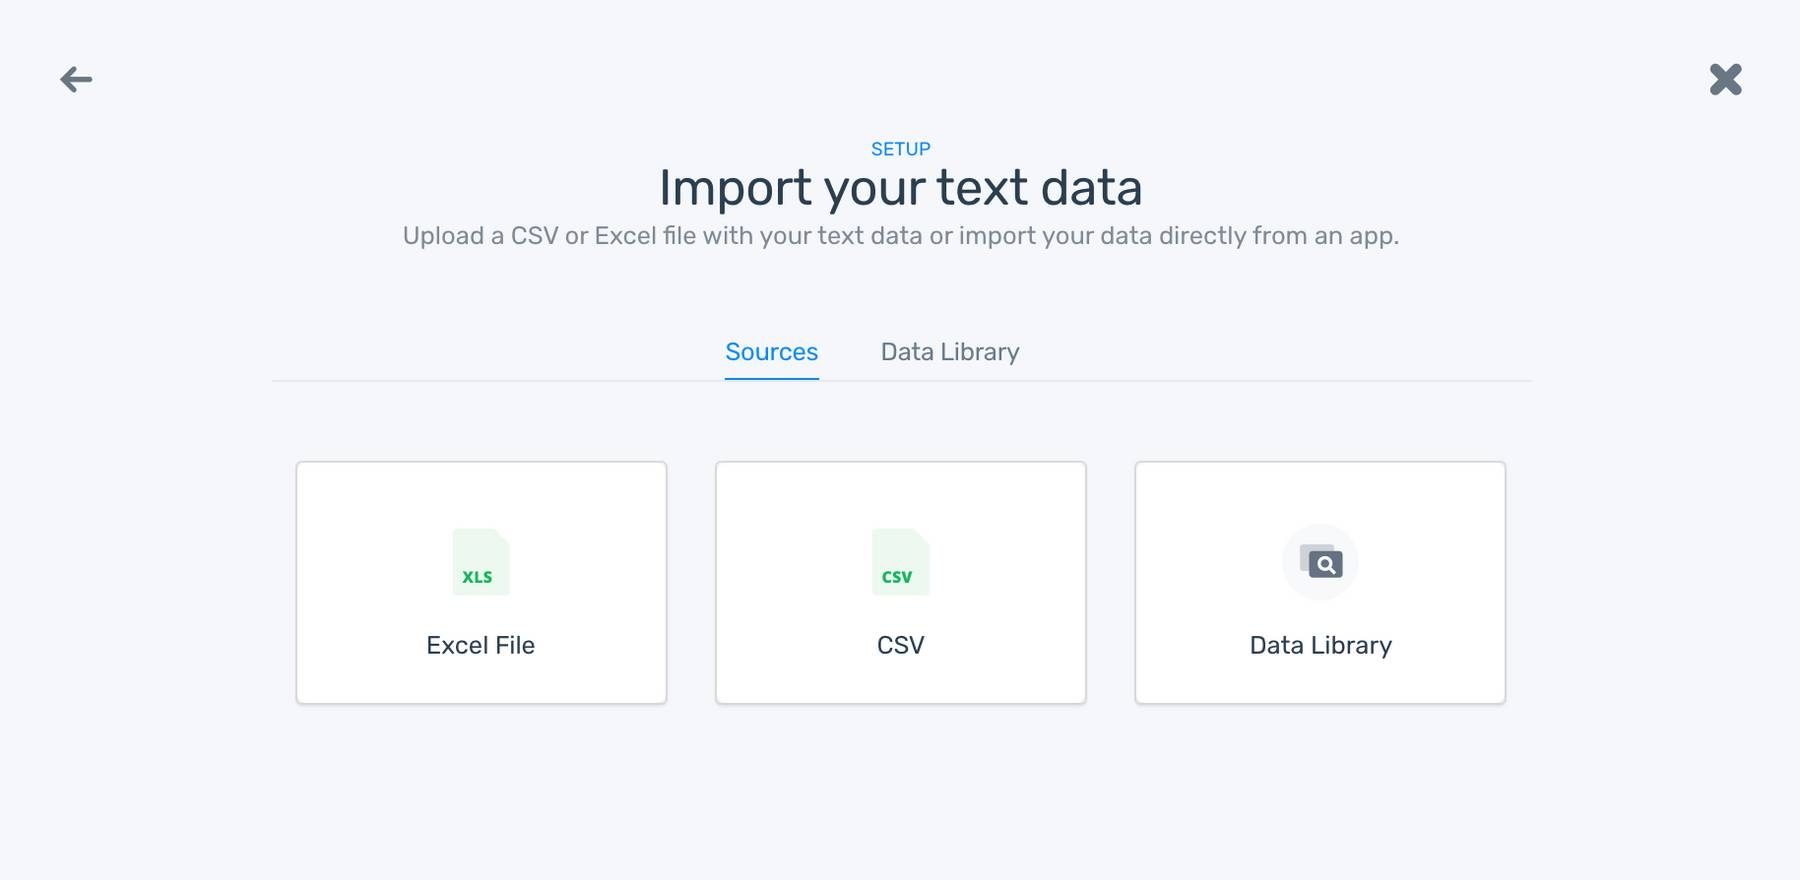
3. Import your data. Upload a cleaned email dataset as an Excel file or a .csv file. You will use this data to train your sentiment analysis model.
4. Train your email sentiment analysis model. Manually tag each email as Positive, Negative, or Neutral.
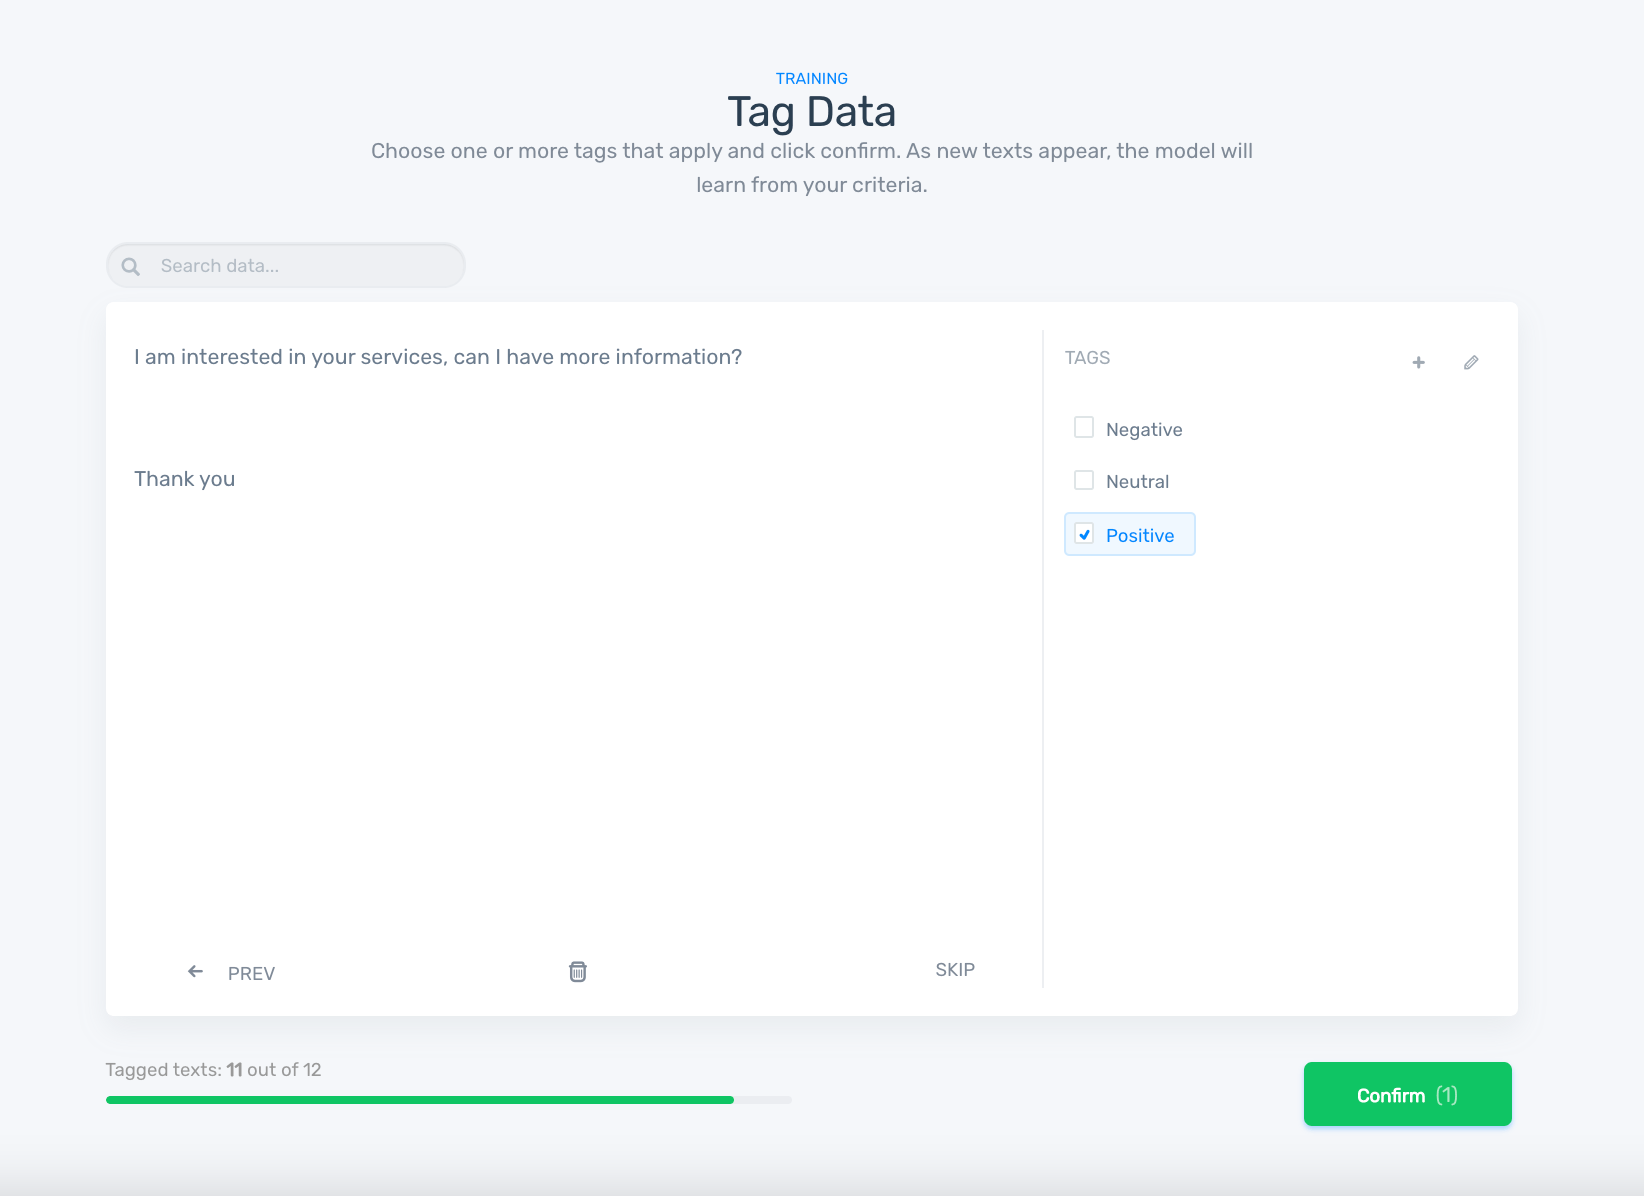
After tagging a few examples, the model will start making its own predictions. You can always re-tag the emails if you find they are incorrect; that way, the model will learn from your criteria.
5. Test your sentiment analysis model.
After training a minimum of 20 examples for each tag, you can test your model’s performance by pasting a text into the box and clicking on ‘Classify text’:
If you are not satisfied with the results, you can go back to ‘Build’ and keep tagging more examples to improve accuracy.
You can also measure your model’s performance by going to the ‘Stats’ section, which shows metrics like Precision, Recall, Accuracy, and F1 Score. Read more about these metrics here.
6. Put your model to work.
Now it’s time to use your sentiment analysis model to analyze your incoming emails. MonkeyLearn offers three different ways of integrating your model with real-time email data:
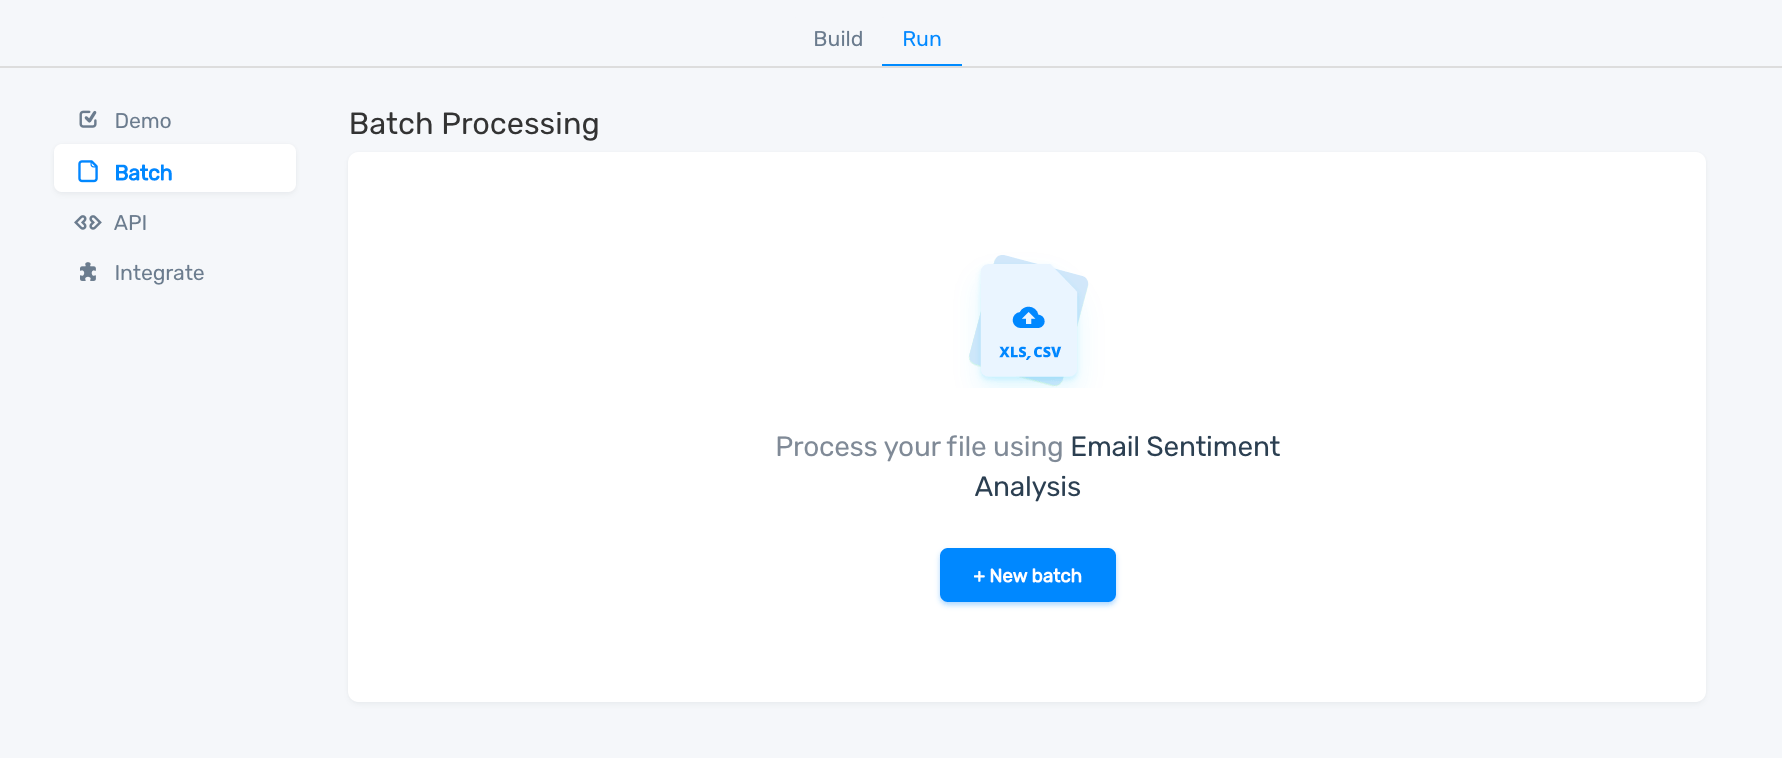
- Batch processing: you can upload a .csv or an Excel file with your emails. After the analysis, you will automatically receive a file with the predictions alongside the text in a new column.
- One-click integrations: you can easily connect your model to apps like Zapier or Zendesk using your MonkeyLearn API key.

- MonkeyLearn’s API: if you are a developer, you can use the API to manage your sentiment analysis model programmatically.
Closing
Email sentiment analysis makes your inbox smarter and allows you to automatically prioritize customer queries without having to open your emails.
Sentiment analysis tools give you back valuable time and ensure customers are happy across the board. Ready to get started? Sign up to MonkeyLearn for free to access pre-trained models to analyze sentiment in your incoming emails.

Tobias Geisler Mesevage
June 18th, 2020


