The Best Sentiment Analysis API in Python
Sentiment analysis is a subfield or part of Natural Language Processing (NLP) that can help you sort huge volumes of unstructured data, from online reviews of your products and services (like Amazon, Capterra, Yelp, and Tripadvisor to NPS responses and conversations on social media or all over the web.
In this post, you’ll learn how to do sentiment analysis in Python on Twitter data, how to build a custom sentiment classifier in just a few steps with MonkeyLearn, and how to connect a sentiment analysis API
What Is Sentiment Analysis in Python?
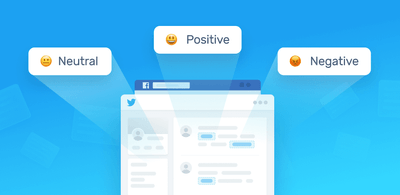
Sentiment analysis is a natural language processing (NLP) technique that’s used to classify subjective information in text or spoken human language. Simply put, the objective of sentiment analysis is to categorize the sentiment of public opinions by sorting them into positive, neutral, and negative.
Sentiment analysis is one of the most common NLP tasks, since the business benefits can be truly astounding. And Python is often used in NLP tasks like sentiment analysis because there are a large collection of NLP tools and libraries to choose from.
How to Do Sentiment Analysis in Python
If you have a good amount of data science and coding experience, then you may want to build your own sentiment analysis tool in python. .Many open-source sentiment analysis Python libraries , such as scikit-learn, spaCy,or NLTK. VADER (Valence Aware Dictionary for Sentiment Reasoning) in NLTK and pandas in scikit-learn are built particularly for sentiment analysis and can be a great help. Or take a look at Kaggle sentiment analysis code or GitHub curated sentiment analysis tools.
Another option that’s faster, cheaper, and just as accurate – SaaS sentiment analysis tools. Remove the hassle of building your own sentiment analysis tool from scratch, which takes a lot of time and huge upfront investments, and use a sentiment analysis Python API.
In this sentiment analysis Python example, you’ll learn how to use MonkeyLearn API in Python to analyze the sentiment of Twitter data.
MonkeyLearn provides a pre-made sentiment analysis model, which you can connect right away using MonkeyLearn’s API. Read on to learn how, then build your own sentiment analysis model using the API or MonkeyLearn’s intuitive interface.
Sentiment Analysis Python Tutorial
First of all, sign up for free to get your API key. Then, install the Python SDK:
pip install monkeylearn
You can also clone the repository and run the setup.py script:
$ git clone git@github.com:monkeylearn/monkeylearn-python.git
$ cd monkylearn-python
$ python setup.py install
And that's it for setup.
You’re ready to run a sentiment analysis on Twitter data with the following code:
from monkeylearn import MonkeyLearn

ml = MonkeyLearn('<<Your API key here>>')
data = ['I love everything about @Zendesk!', 'There's a bug in the new integration]
model_id = 'cl_pi3C7JiL'
result = ml.classifiers.classify(model_id, data)

print(result.body)
The output will be a Python dict generated from the JSON sent by MonkeyLearn, and should look something like this example:
[{
    'text': 'I love everything about @Zendesk!',
    'classifications': [{
        'tag_name': 'Positive',
        'confidence': 0.993,
        'tag_id': 33767179
    }],
    'error': False,
    'external_id': None
}, {
    'text': 'There's a bug in the new integration',
    'classifications': [{
        'tag_name': 'Negative',
        'confidence': 0.979,
        'tag_id': 33767178
    }],
    'error': False,
    'external_id': None
}]
We return the input text list in the same order, with each text and the output of the model. Now, you’re ready to start automating processes and gaining insights from tweets.
Here’s full documentation of MonkeyLearn API and its features.
Now that you know how to use MonkeyLearn API, let’s look at how to build your own sentiment classifier via MonkeyLearn’s super simple point and click interface.
How to Build A Sentiment Analysis Classifier to Call with Python
It’s important to remember that machine learning models perform well on texts that are similar to the texts used to train them. For example, if you train a sentiment analysis model using survey responses, it will likely deliver highly accurate results for new survey responses, but less accurate results for tweets.
Generic sentiment analysis models are great for getting started right away, but you’ll probably need a custom model, trained with your own data and labeling criteria, for more accurate results.
With MonkeyLearn, building your own sentiment analysis model is easy. Just follow the steps below, and connect your customized model using the Python API.
Side note: if you want to build, train, and connect your sentiment analysis model using only the Python API, then check out MonkeyLearn’s API documentation.
1. Create a text classifier
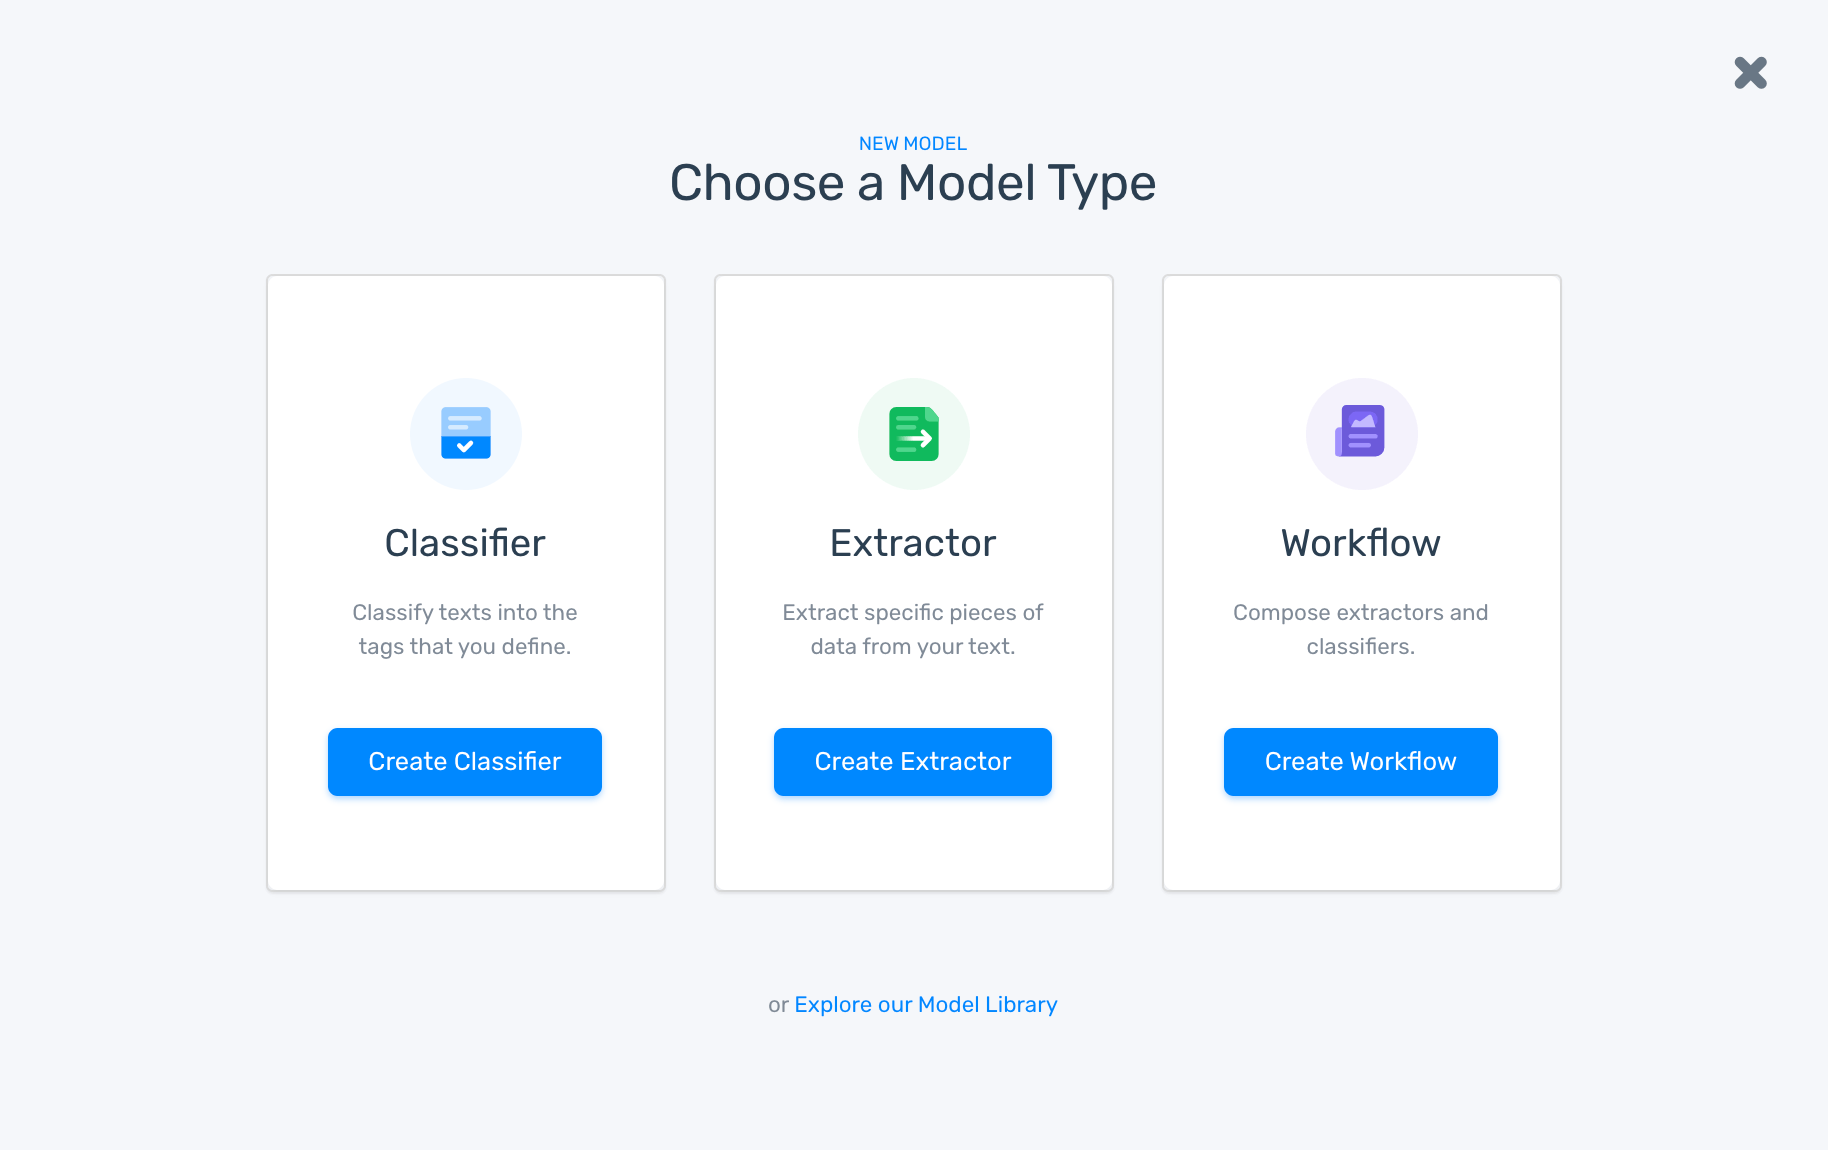
Go to the dashboard, then click Create a Model, and choose Classifier:
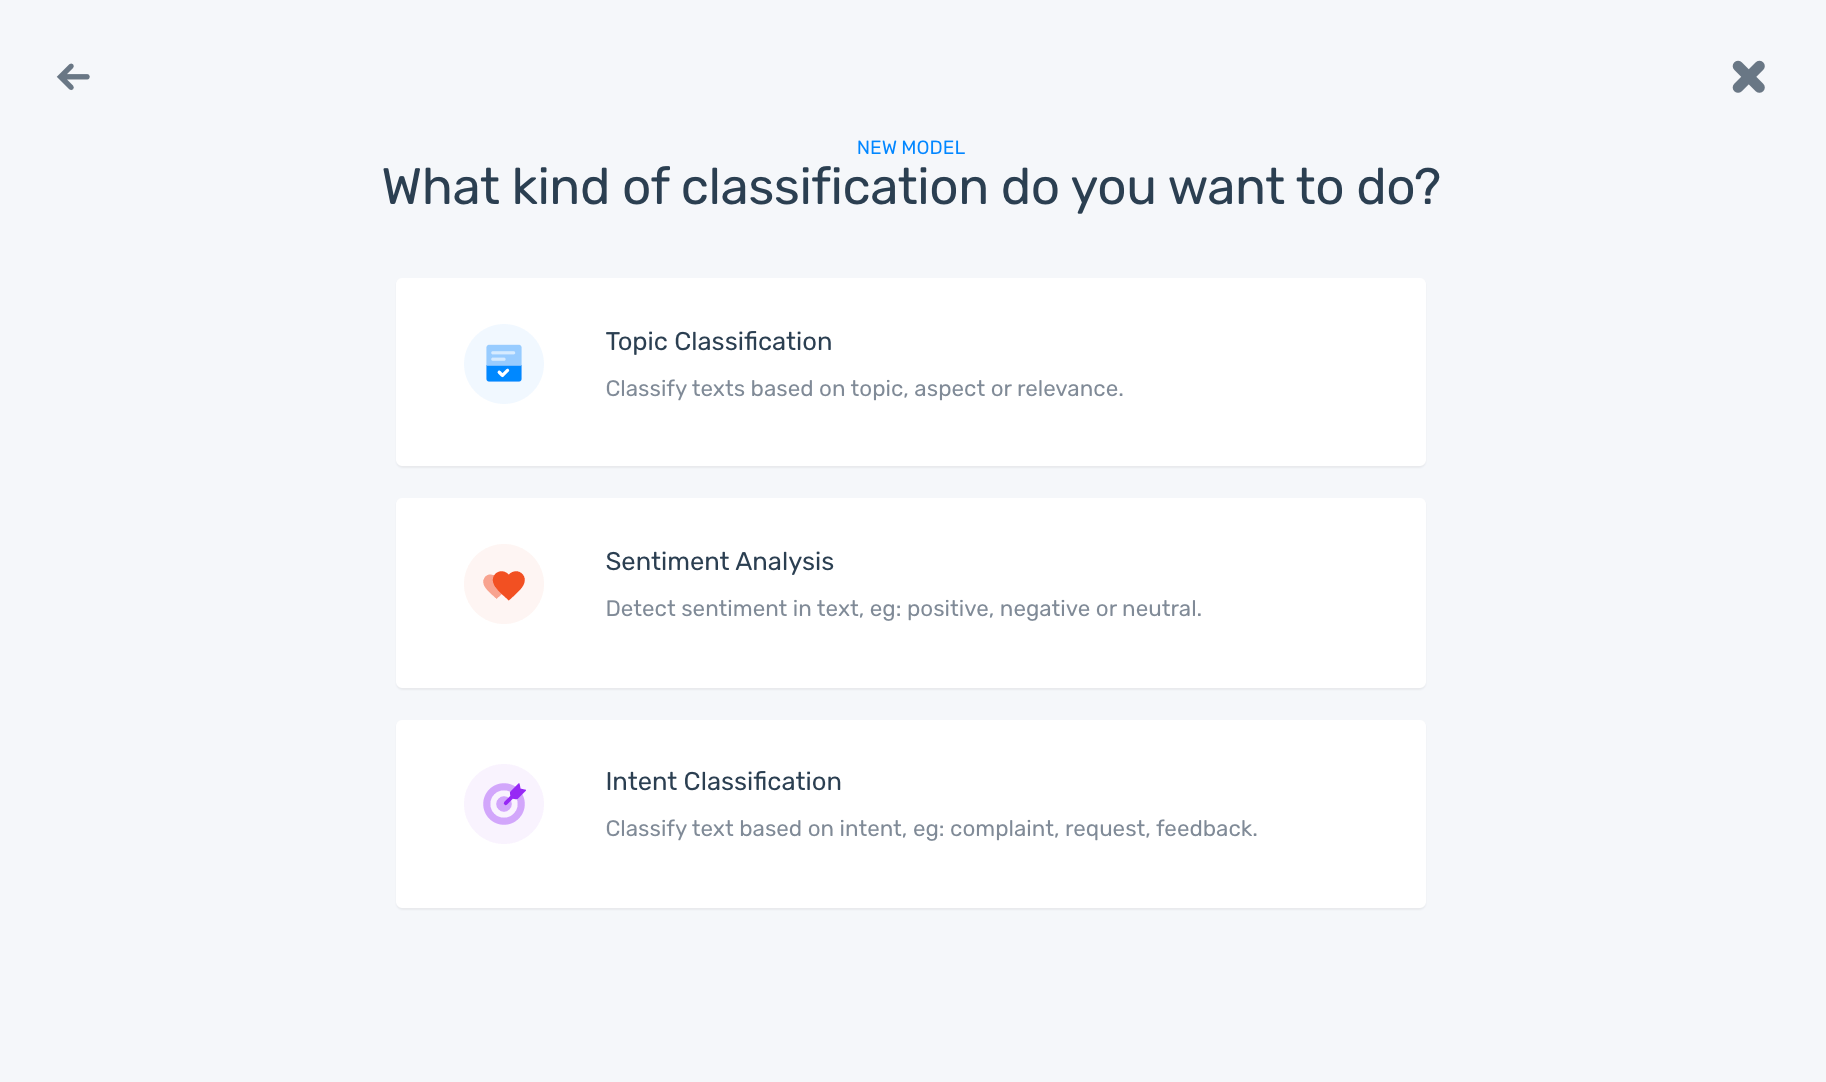
Choose sentiment analysis as your classification type:
2. Upload your training dataset
The single most important thing for a machine learning model is the training data. Without good data, the model will never be accurate. As the saying goes, garbage in, garbage out. Upload your Twitter training data in an Excel or CSV file and choose the column with the text of the tweet to start importing your data.
We used MonkeyLearn's Twitter integration to import data. However, if you already have your training data saved in an Excel or CSV file, you can upload this data to your classifier.
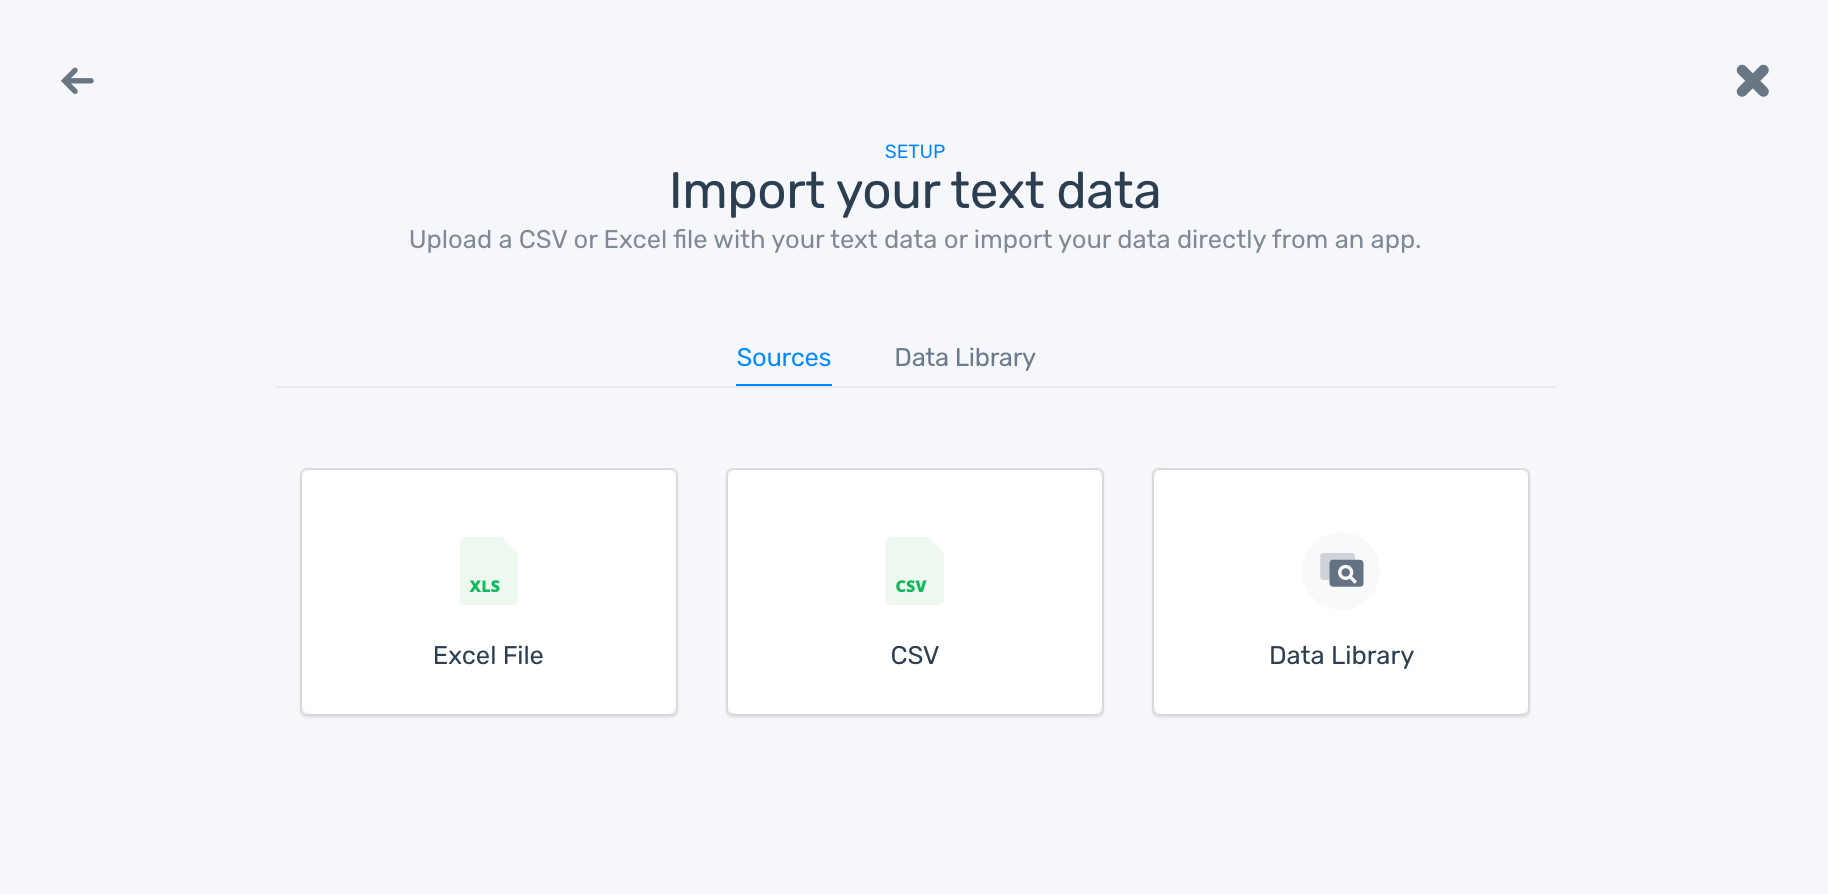
If using the Twitter integration, search for a keyword or brand name. In this example we searched for the brand Zendesk. Next, choose the column with the text of the tweet and start importing your data.

3. Train your sentiment analysis model
In this step, you’ll need to manually tag each of the tweets as Positive, Negative, or Neutral, based on the polarity of the opinion. After tagging the first tweets, the model will start making its own predictions, which you can approve or overwrite.

4. Test your Twitter sentiment classifier
Once you have trained your model with a few examples, test your sentiment analysis model by typing in new, unseen text:

If you are not completely happy with the accuracy of your model, keep tagging your data to provide the model with enough examples for each sentiment category. In this case, for example, the model requires more training data for the category Negative:
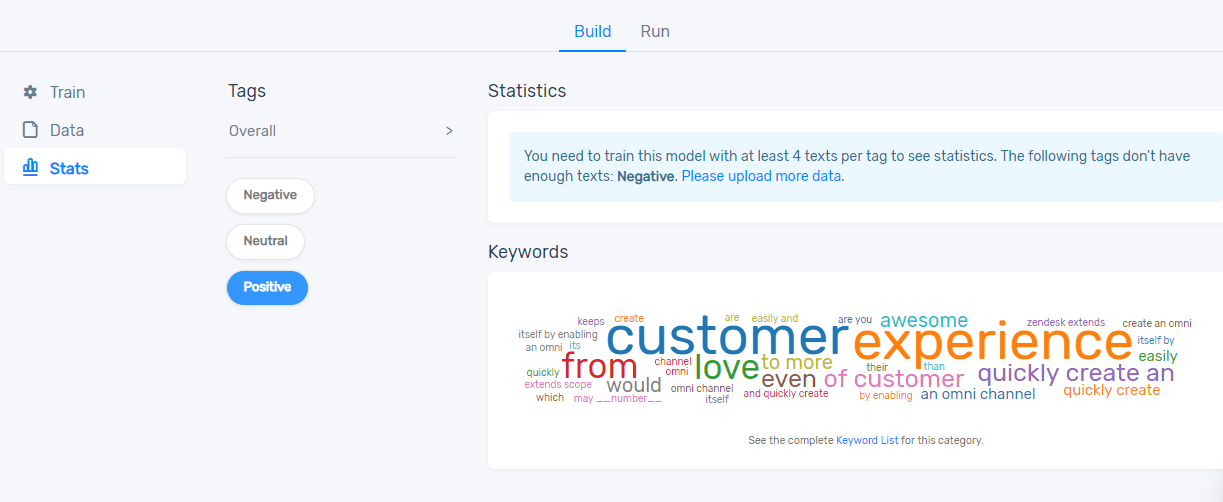
Remember, the more training data you tag, the more accurate your classifier becomes. You can keep training and testing your model by going to the ‘train’ tab and tagging your test set – this is also known as active learning and will improve your model.
5. Call your Sentiment Analysis Model with Python
Once you’re happy with the accuracy of your model, you can call your model with MonkeyLearn API.
Perform sentiment analysis on your Twitter data in pretty much the same way you did earlier using the pre-made sentiment analysis model:
from monkeylearn import MonkeyLearn

ml = MonkeyLearn('<<Your API key here>>')
data = ['I love everything about @Zendesk!', 'There's a bug in the new integration']
model_id = '<<Your model ID here>>'
result = ml.classifiers.classify(model_id, data)

print(result.body)
And the output for this code will be similar as well:
[{
    'text': I love everything about @Zendesk!,
    'classifications': [{
        'tag_name': 'positive',
        'confidence': 0.836,
        'tag_id': 103237939
    }],
    'error': False,
    'external_id': None
}, {
    'text': 'There's a bug in the new integration': [{
        'tag_name': 'negative',
        'confidence': 0.924,
        'tag_id': 103237938
    }],
    'error': False,
    'external_id': None
}]
Do Sentiment Analysis the Easy Way in Python
Sentiment analysis is a powerful tool that offers huge benefits to any business. And now, with easy-to-use SaaS tools, like MonkeyLearn, you don’t have to go through the pain of building your own sentiment analyzer from scratch. And with just a few lines of code, you’ll have your Python sentiment analysis model up and running in no time.
With MonkeyLearn, you can start doing sentiment analysis in Python right now, either with a pre-trained model or by training your own. Get started with
Get started with MonkeyLearn's API or request a demo and we’ll walk you through everything MonkeyLearn can do.

Bruno Stecanella
May 8th, 2019


