How to create text classifiers with Machine Learning
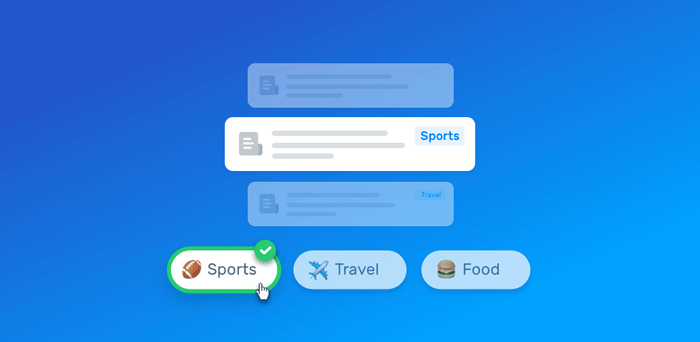
Building a quality machine learning model for text classification can be a challenging process. You need to define the tags that you will use, gather data for training the classifier, tag your samples, among other things.
On this post, we will describe the process on how you can successfully train text classifiers with machine learning using MonkeyLearn. This process will be divided into five steps as follows:
- Defining your Tags
- Data Gathering
- Creating your Text Classifier
- Using your Model
- Improving your Text Classifier
1. Define your Tags
What are the tags that you want to assign to your texts? This is the first question you need to answer when you start working on your text classifier.
Choosing your tags
Let's take a simple example: you want to classify daily deals from different websites. In this example, your tags for the various deals might be:
- Entertainment
- Food & Drinks
- Health & Beauty
- Retail
- Travel & Vacations
- Miscellaneous
Now let's imagine that you are interested in sentiment analysis, you might want to have the following tags:
- Positive
- Negative
- Neutral
In contrast, if you are interested in classifying support tickets for an e-commerce site, you might want to define these tags:
- Shipping issue
- Billing issue
- Product availability
- Discounts, Promo Codes and Gift Cards
Sometimes you know which are the tags you want to work with (for example if interested in sentiment analysis), but sometimes you don't know what tags you should use. In these cases, you need to first explore and understand your data to determine what are appropriate tags for your model.
Structure your tags
A crucial part of this process is giving a proper structure and criteria to your tags. When you want to be more specific and use subtags, you will need to define a hierarchical tree that organizes your tags and subtags. Take into account that each set of subtags needs to be implemented on a separate classifier.
Going back to the example of classifying daily deals, you can organize your tags in the following way:
- Entertainment
- Concerts
- Movies
- Nightclubs
- Food & Drinks
- Restaurants
- Bars
- Takeaway
- Health & Beauty
- Hair & Skin
- Spa & Massage
- Perfumes
- Retail
- Clothing
- Electronics
- Computers
- Smartphones
- Tables
- TV & Video
- Travel & Vacations
- Hotels
- Flight Tickets
- Miscellaneous
In this example, you will need to create a classifier for the first level of tags (Entertainment, Food & Drinks, Health & Beauty, Retail, Travel & Vacations and Miscellaneous) and a separate classifier for each particular subset of tags (e.g. Concerts, Movies, and Nightclubs)
Tips for defining your tags
When you define your tags, these are some of the things you need to take into consideration:
- Avoid overlapping
Use disjoint tags and avoid defining tags that are ambiguous or overlapping: there should be no doubt in which tag a text should be placed. Overlapping between your tags will confuse to your model and affect the accuracy of the predictions negatively.
- Don't mix classification criteria
Use one single classification criteria per model. Imagine that you want to tag companies based on their description. Your tags could be things like B2B, B2C, Enterprise, Finance, Media, Construction, etc. In this case, you should build two separate models: a) one to classify a company according to who are their customers (B2C, B2B, Enterprise) and b) another model to classify a company according to the industry vertical it operates (Finance, Media, Construction). Each model has its unique criteria and purpose.
- Structure
Organize your tags according to their semantic relations. For example, Basketball and Baseball should be subtags of Sports because they are specific types of sports. Likewise, Clothing and Electronics should be a subset of tags of Retail. Therefore, if we want to implement a classification process that uses these tags, we'll need to create 3 classifiers: one that is able to classify between Sports and Retail, another classifier that classifies between the Sports subtags (basketball and baseball) and a third one that classifies between the Retail subtags (Clothing and Electronics). A classification process that has a clear structure can make a significant difference and will be a huge help to make accurate predictions with your classifiers.
- Start small and then go big
If it's your first time training a text classifier, we recommend starting with a simple model. Complex models can take more effort in making them work well enough to make accurate predictions. Start with a small number of tags (<10).
When you get this simple model to work as expected, try adding a few more tags and work in your model until the new tags are accurate enough. Eventually, you can keep iterating adding more tags as you need.
2. Data Gathering
Once you have defined your tags, the next step is to obtain text data, that is, the texts that you want to use as training samples and that are representative of future texts that you would want to classify automatically with your model.
The following sources are suggested to perform the data gathering:
Internal data
You can use internal data, like files, documents, spreadsheets, emails, support tickets, chat conversations and more. You may already have this data in your databases or tools that you use every day:
Customer Support / Interaction:
- Zendesk
- Intercom
- Desk
CRMs:
- Salesforce
- Hubspot CRM
- Pipedrive
Chat:
- Slack
- Hipchat
- Messenger
NPS:
- Delighted
- Promoter.io
- Satismeter
Data Bases:
- Postgres
- MySQL
- MongoDB
- Redis
Data Analytics:
- Segment
- Mixpanel
You usually have ways to export this data either by using an export function into CSV files or by using an API.
External data
Data is everywhere and you can automatically get data from the web, by using web scraping tools, APIs and open data sets.
Web scraping frameworks
If you have coding experience, you can use a web scraping framework to build your scraper to get data from the web. These are some of the most used tools for web scraping:
Python:
Ruby:
Javascript:
PHP:
Visual web scraping tools
If you don't have coding experience, as an alternative you can use some of these visual tools where you can build a web scraper with just a few clicks:
APIs
Besides scraping, you can use APIs to connect with some websites or social media platforms to get the valuable data you need to train your machine learning classifier. For example, these are some useful APIs to obtain text data:
Open data
You can use open data from sites like Kaggle, Quandl, and Data.gov.
Other Tools
Tools like Zapier or IFTTT can be helpful for getting your text data, especially if you don't have coding experience. You can use them to connect to the tools that you use every day through the API but without coding :)
These are just some examples; you can find data everywhere, so consider using any particular tool or technique that you are familiar with.
3. Creating your Text Classifier
After getting the data, you'll be ready to train a text classifier using MonkeyLearn. For this, you should follow these steps:
1. Create a new model and then click Classifier:
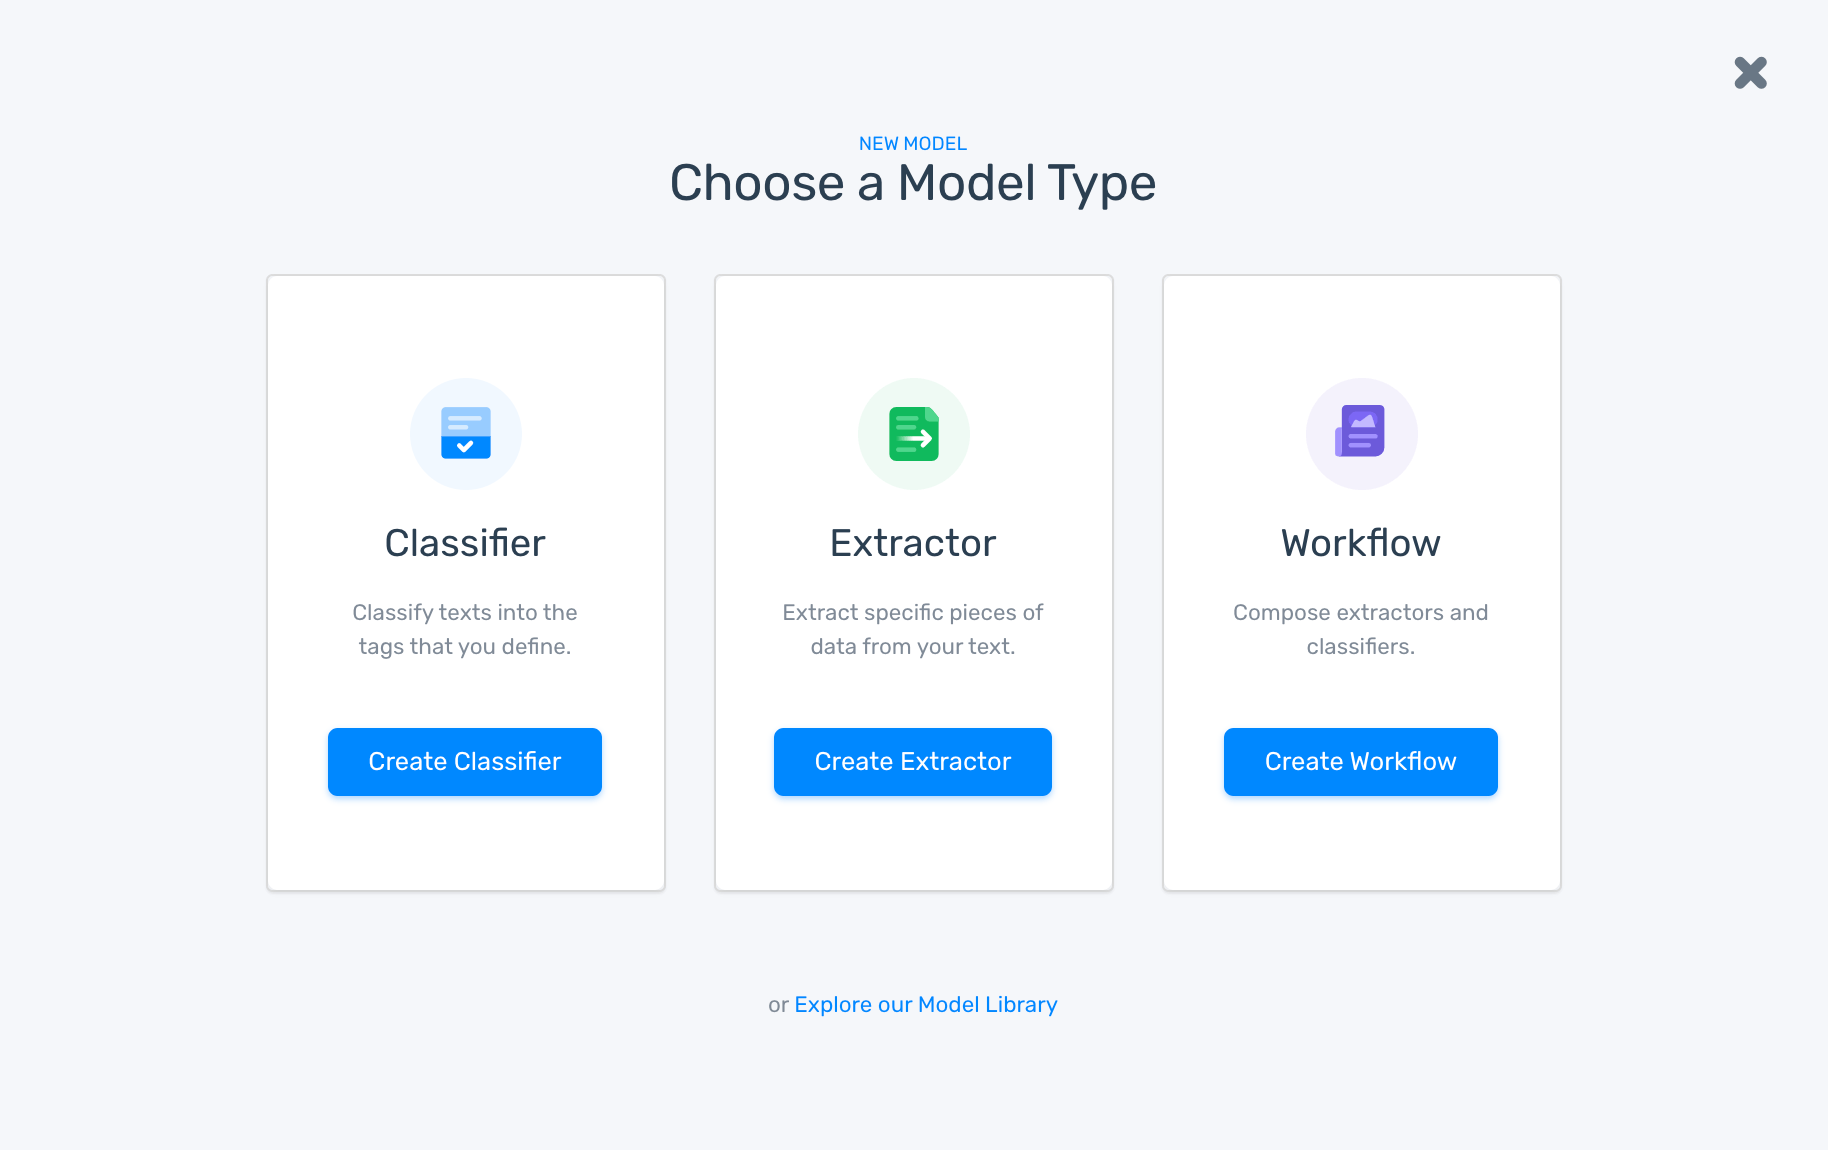
Creating a text classifier on MonkeyLearn
2. Import the text data using a CSV/Excel file with the data that you gathered:
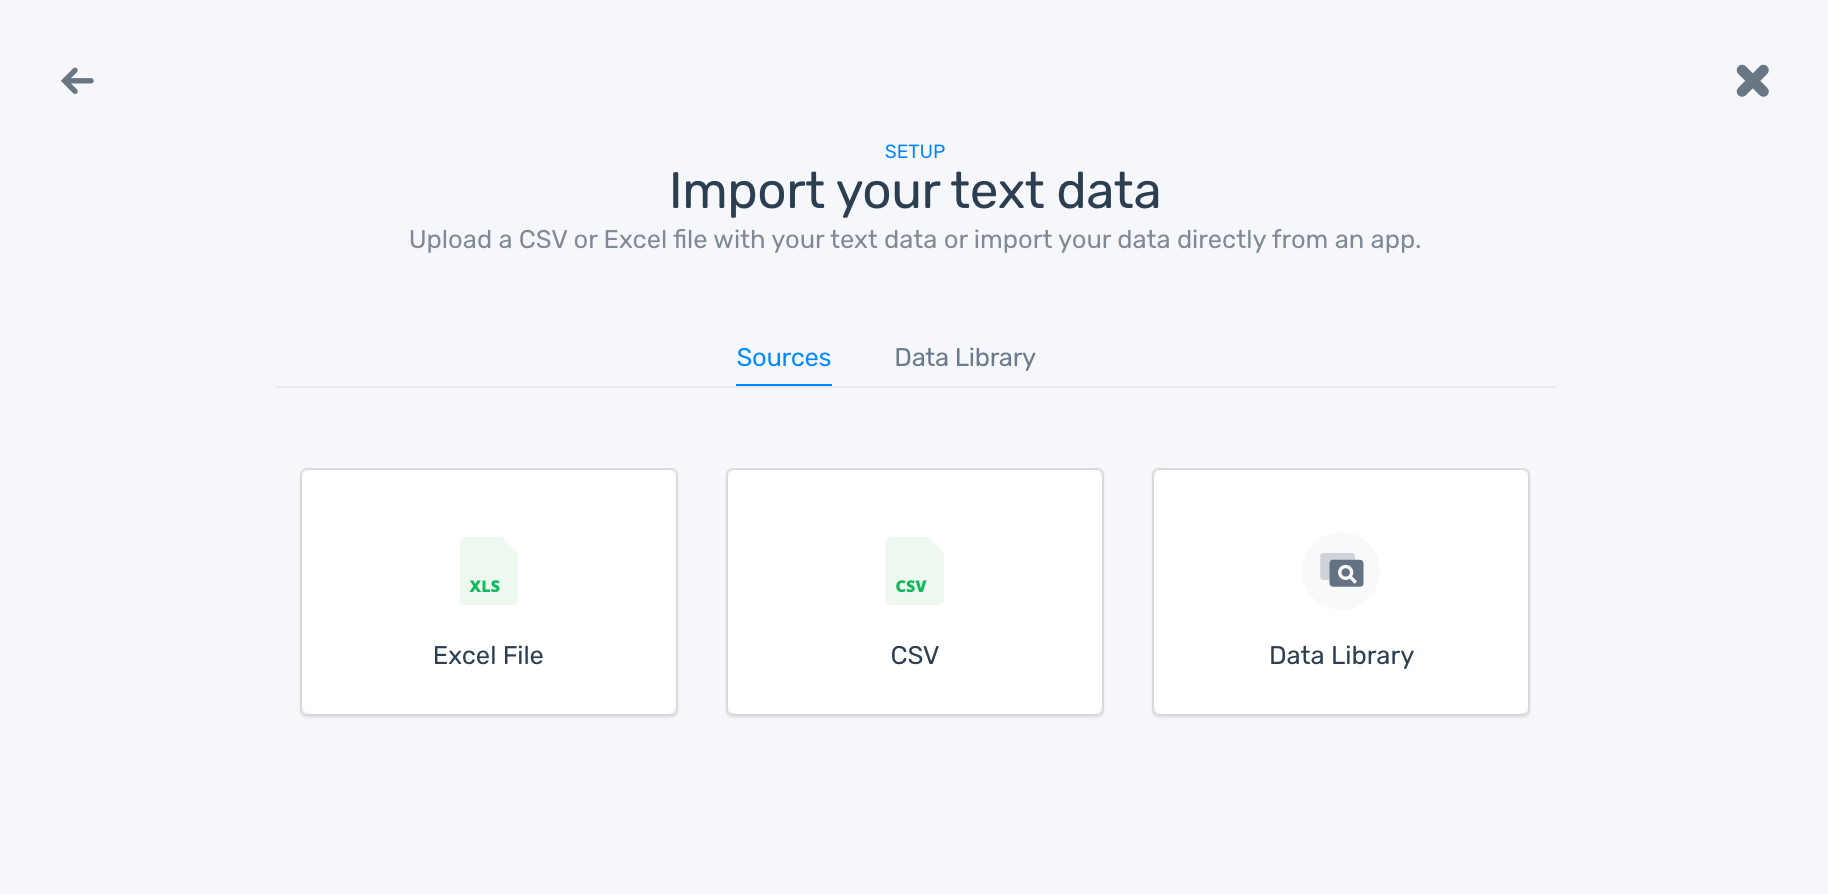
Importing data to a model
3. Select the columns with the texts that you want to use for training the model:

Selecting the data to be used on a classifier
4. Create the tags you will use for the classifier. You'll need at least two tags to get started, but you can add more later:
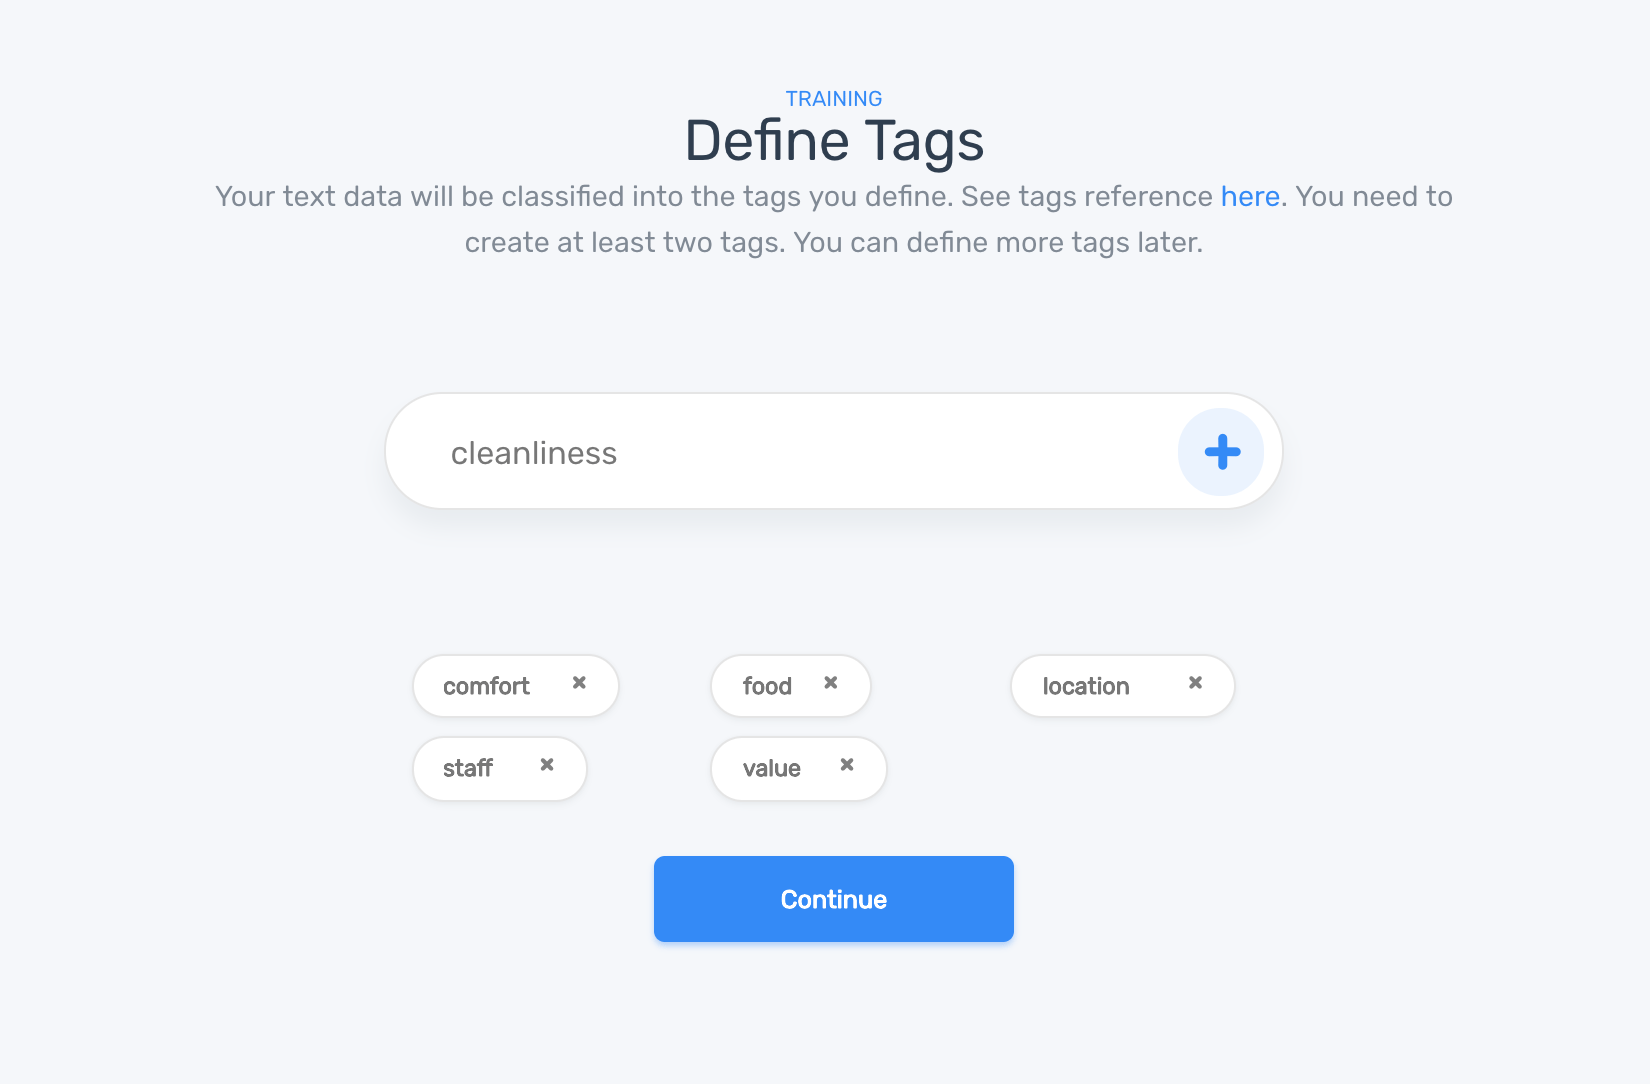
Creating tags on a classifier
5. Tag each text that appears by the appropriate tag or tags. By doing this, you will be teaching the machine learning algorithm that for a particular input (text), you expect a specific output (tag):
Tagging data in a text classifier.
You will need to label at least four text per tag to continue to the next step.
6. Name your model:
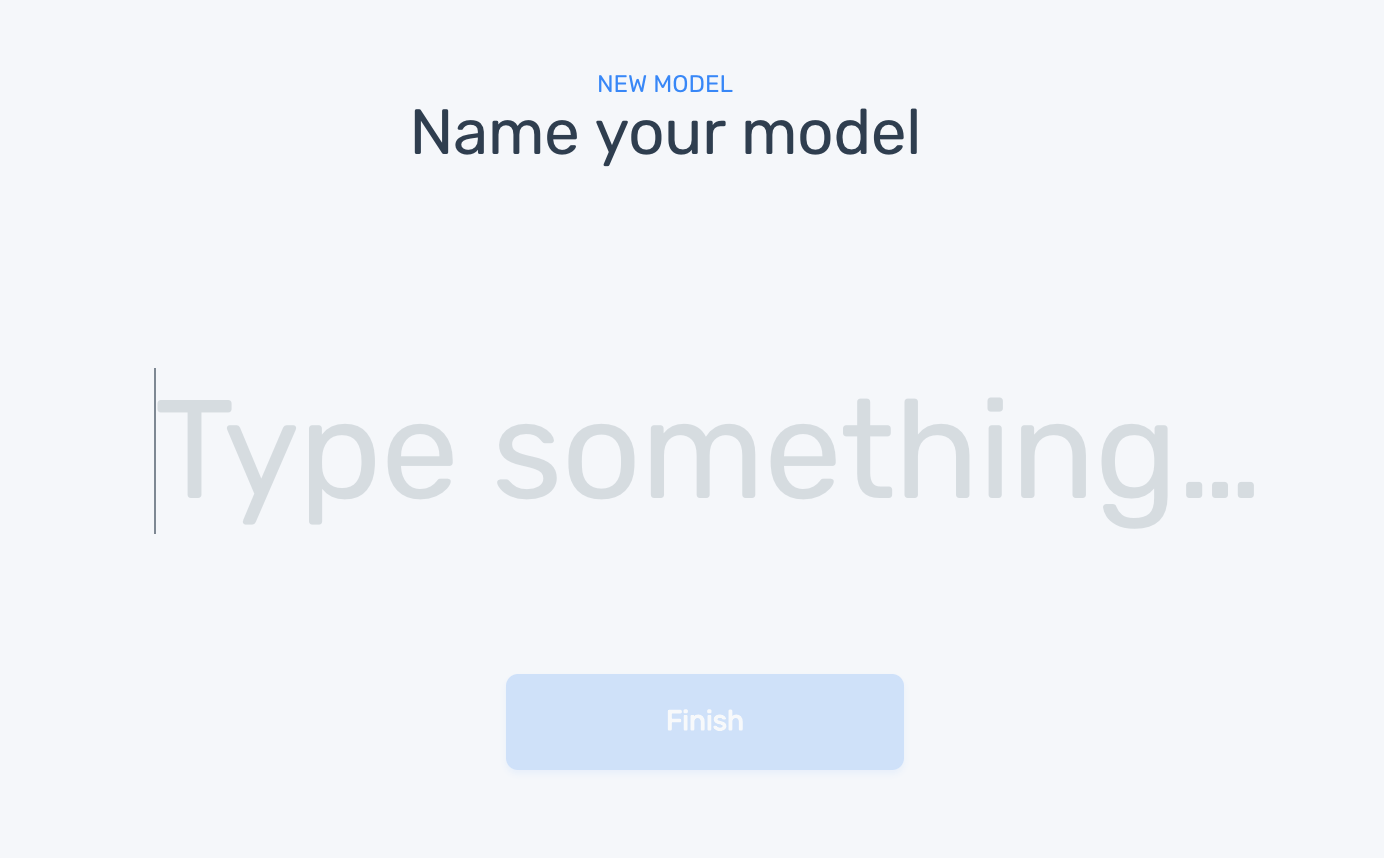
Naming the model
And ta-da! MonkeyLearn will train the classifier with the text data and tags you provided:
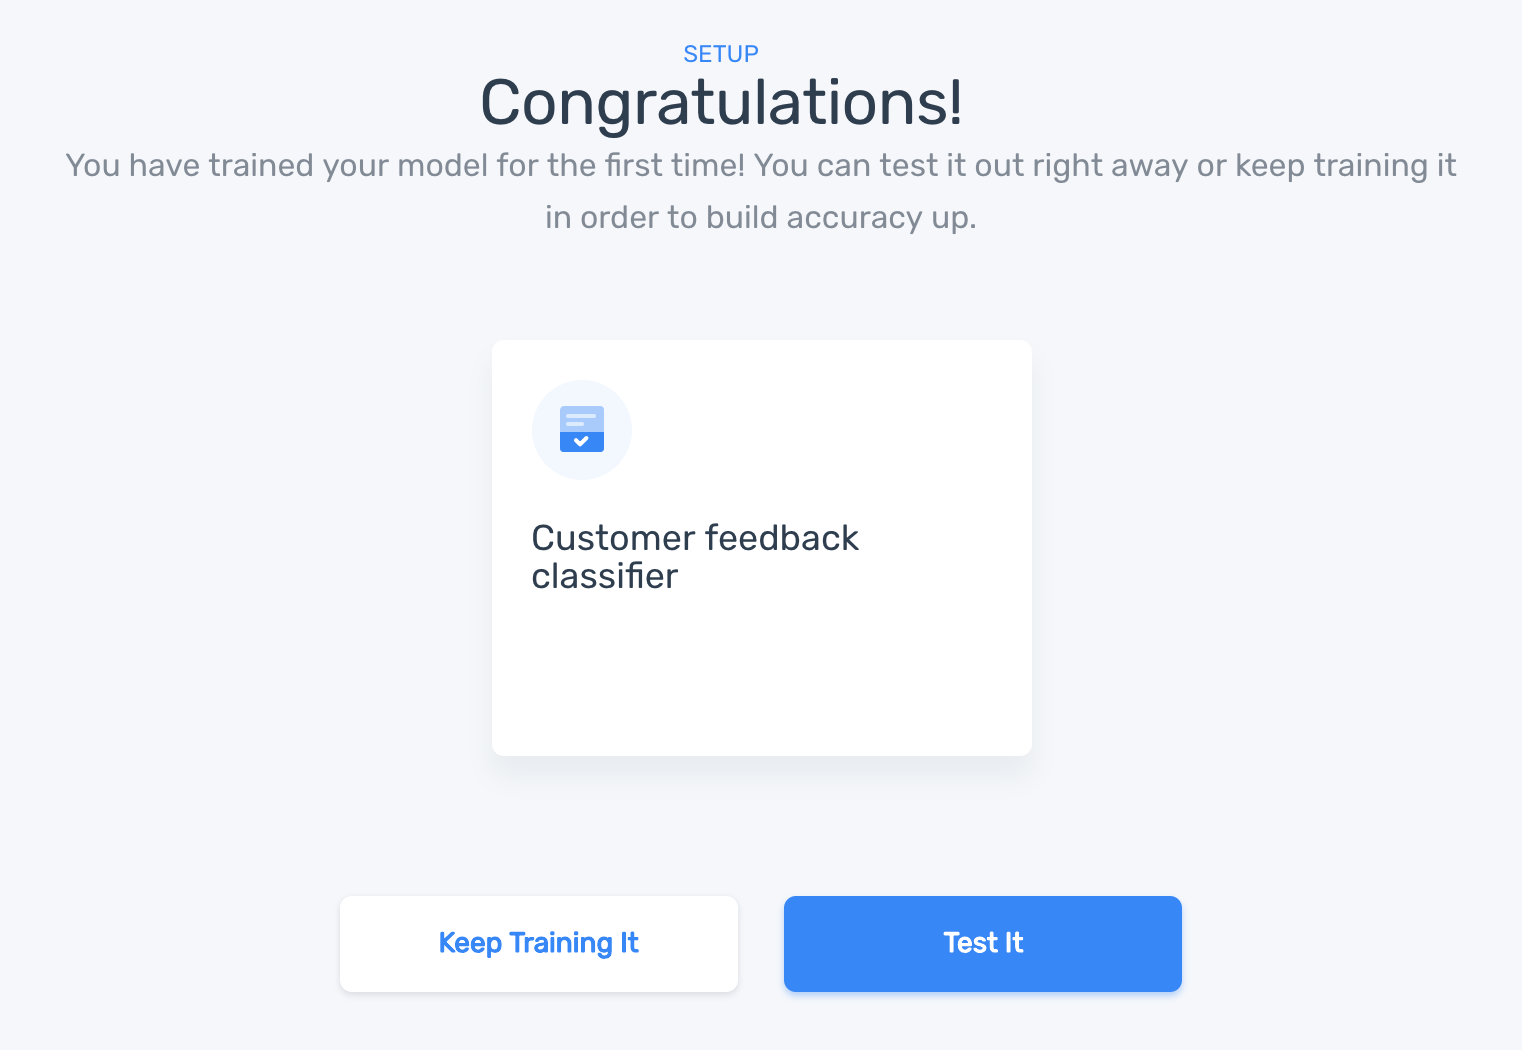
A model is created
4. Using your Model
Now that the classification model is trained you can use it right away to classify new text. Under the "Run" tab you can test the model directly from the user interface:
Testing the classifier using the UI
You can also upload a CSV or Excel file with new data to process text in a batch all at once:
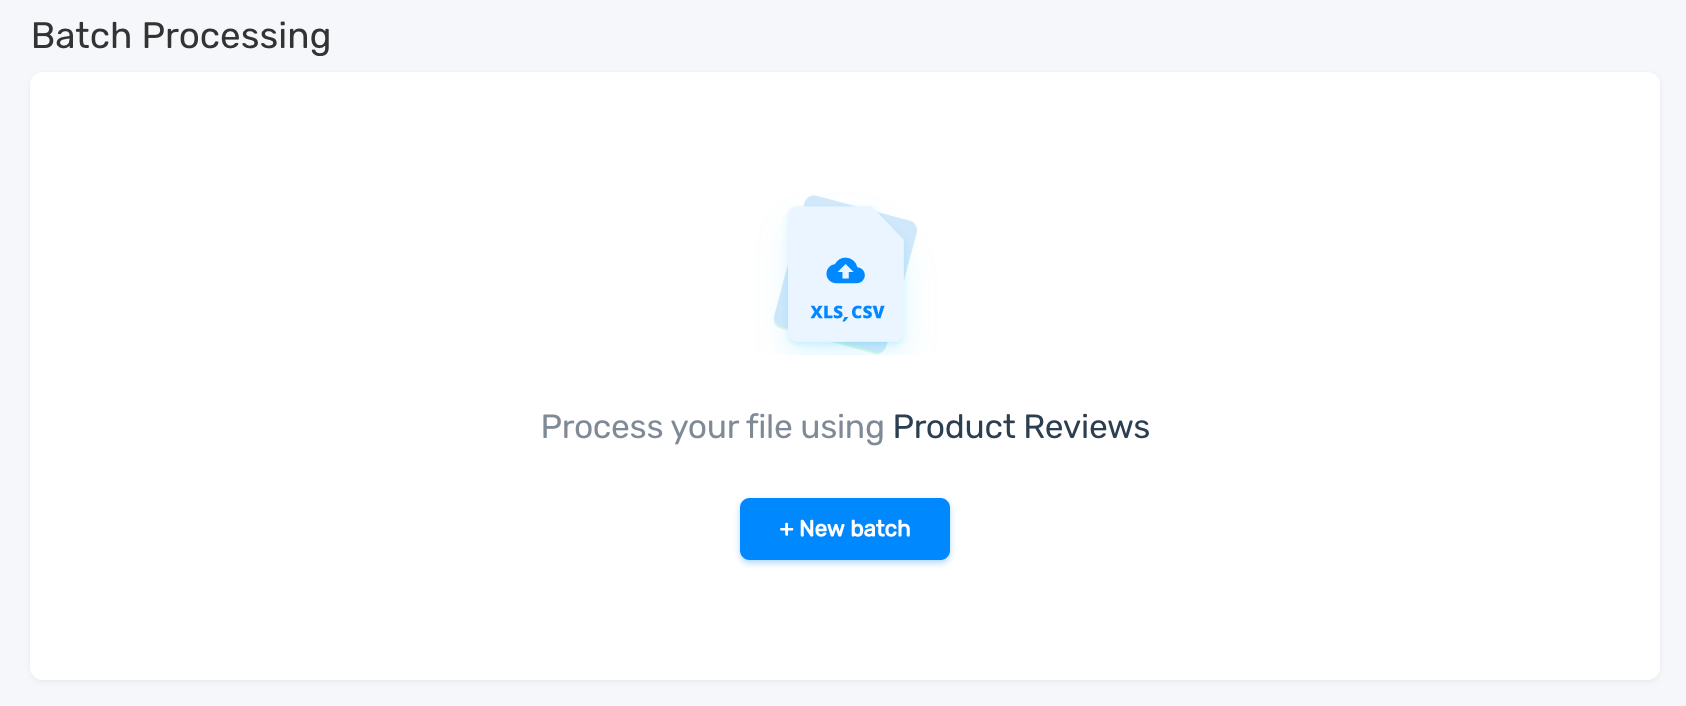
Processing data in batch all at once
Or you can integrate it using our API or any of our integrations:

Available integrations for using a classifier
5. Improving your Text Classifier
Under the Build Tab to see options to further improve the classifier. You can go to the Train section to tag more texts:
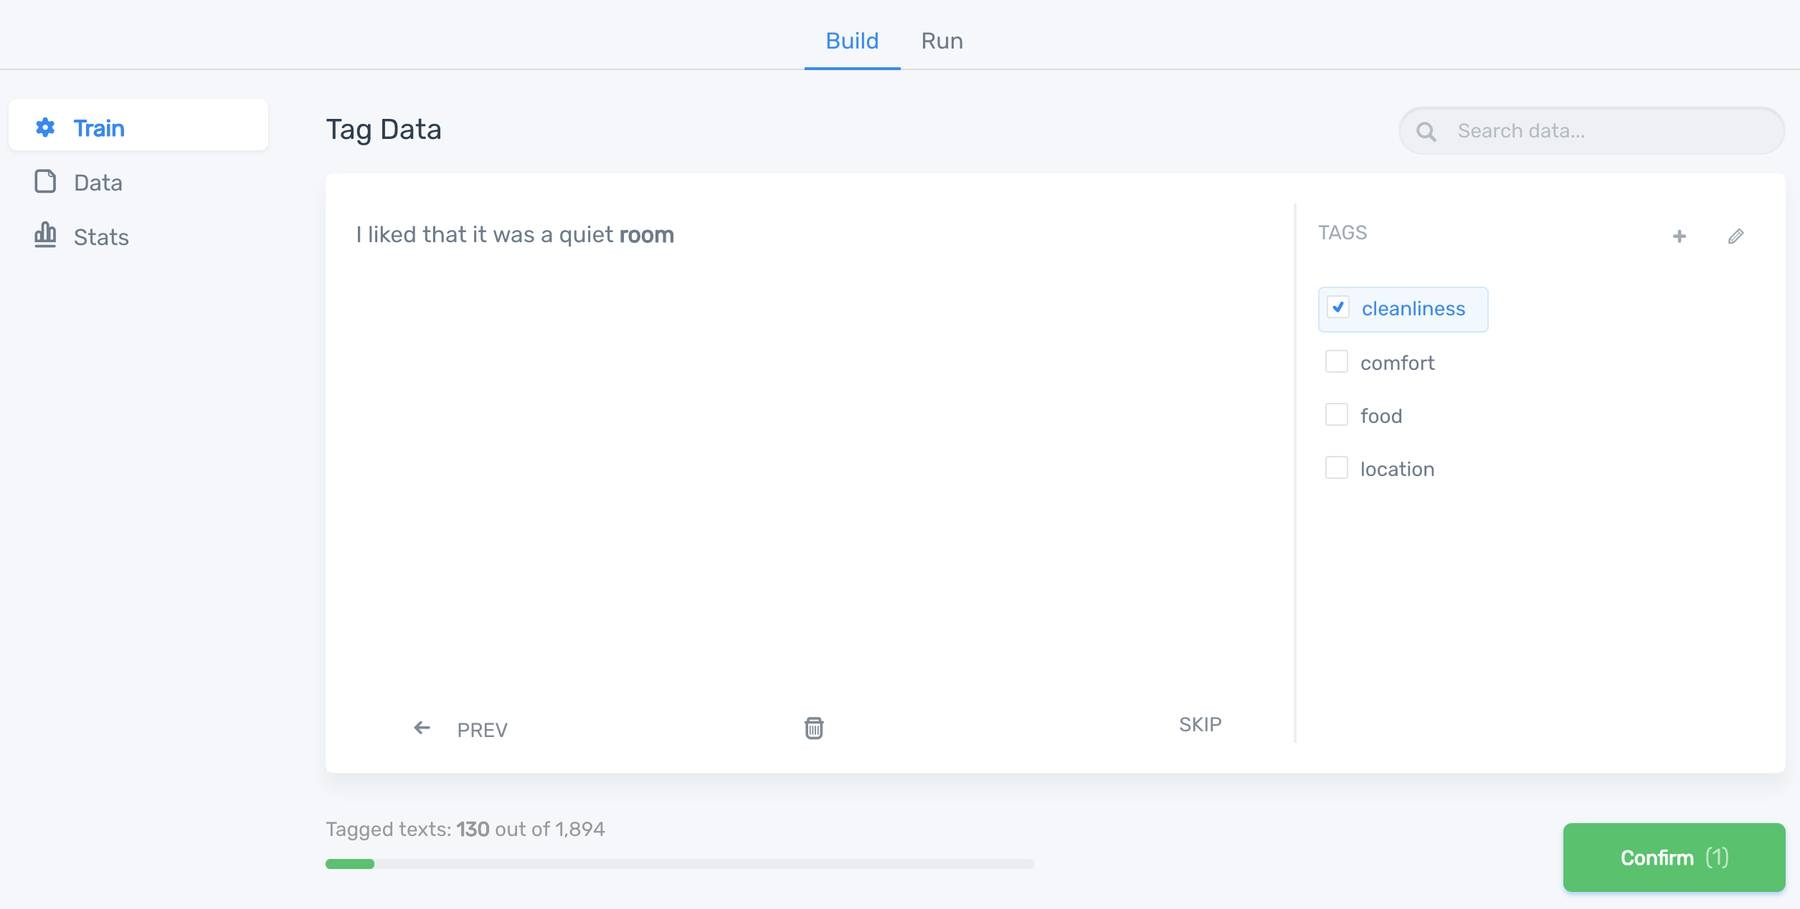
Tagging more data to improve the classifier.
The amount of data that you need for your classifier strongly depends on your particular use case, that is, the complexity of the problem and the number of tags you want to use within your classifier.
For example, it's not the same to train a classifier for sentiment analysis for tweets than training a model to identify the topics of product reviews. Sentiment analysis is a much harder problem to solve and it needs much more text data. Analyzing tweets is also far more challenging than analyzing well-written reviews.
In short, the more text data that you have, the better. We suggest starting by tagging at least 20 samples per tag and take it from there. Depending on how accurate your classifier ends, add more data. For topic detection, we have seen some accurate models with 200-500 training samples in total. Sentiment analysis models usually need at least 3,000 training samples to start to start seeing an acceptable accuracy.
Quality over quantity
It's much better to start with fewer samples, but being 100% sure that those samples are representative of each of your tags and are correctly tagged than to add tons of data but with lots of errors.
Some of our users add thousands of training samples at once (when are creating a custom classifier for the first time) thinking that the high volumes of data is great for the machine learning algorithm, but by doing that, they don't pay attention to the data they use as training samples. And most of the times many of those samples are incorrectly tagged.
It's like teaching history to a kid with a history book that has many facts that are plain wrong. The kid will learn from this data, but he will learn from really wrong information. He will don't know about history, no matter how much he reads and learns from this book.
So, it's much better to start with few but high-quality training samples that are correctly tagged and take it from there. Afterward, you can work on improving the accuracy of your classifier by adding more quality data.
Classifier statistics
Once you have tagged enough text data, you can begin to see a series of metrics in the Stats area that show how well the classifier would predict new data. These metrics are key to understand your model and how you can improve it.
Accuracy
The accuracy is the percentage of samples that were predicted in the correct tag:
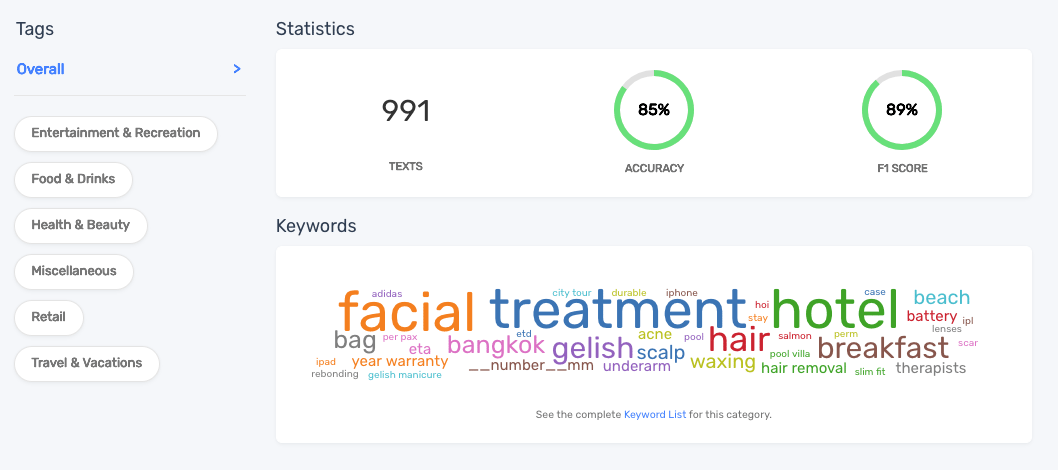
Accuracy for a classifier.
It's a metric that shows how well a classifier distinguishes between its tags. In the previous example, the classifier has an accuracy of 85% when distinguishing between its six tags (Entertainment & Recreation, Food & Drinks, Health & Beauty, Miscellaneous, Retail and Travel & Vacations).
Tips for improving the Accuracy:
- Add more training samples to its tags.
- Retag samples that might be incorrectly tagged into the children tags (see confusion matrix section below).
- Sometimes sibling tags could be too ambiguous. If possible, we recommend merging those tags.
Accuracy on its own is not a good metric; you also have to take care of precision and recall. You can have a classifier with outstanding accuracy but still have tags with bad precision and recall.
Precision and Recall
Precision and Recall are useful metrics to check the accuracy of each tag:
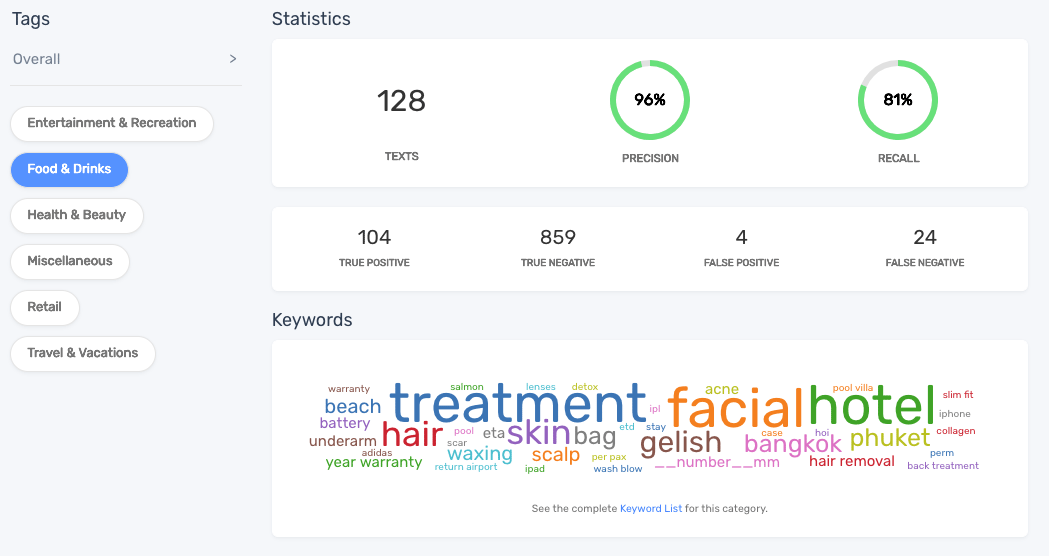
Precision and Recall for 'Food & Drinks' tag.
If a tag has low precision, it means that samples from other sibling tags were predicted as this tag, also known as false positives.
If a tag has a low recall, that means that samples from this tag were predicted as other sibling tags, also known as false negatives.
Usually, there's a trade-off between precision and recall in a particular tag, that means, if you try to increase precision, you could end up doing that at the cost of lowering recall, and vice versa.
By using the confusion matrix, you can see the false positives and false negative of your model.
Tips for improving Precision and Recall:
- Explore the false positives and false negatives of your model.
- If a sample was initially tagged as tag X but was correctly predicted as tag Y, move that sample to tag Y.
- If the sample was incorrectly predicted as tag Y, try to make the classifier learn more about that difference by adding more samples both to tag X and tag Y.
- Check that the keywords associated with tags X and Y are correct (see Keyword Cloud section to see how to fix that).
False Positives and False Negatives
After selecting a tag, you can see its true positives, true negatives, false positives, and false negatives:

False positives and false negatives for the Food & Drinks tag
In the previous example, we can see four samples that initially weren't tagged as Food & Drinks were predicted to belong to this tag (false positives). On the other hand, we can see 24 samples that were originally tagged as Food & Drinks, weren't predicted to belong to Food & Drinks and were tagged into other tags (false negatives).
You can click these numbers to see the corresponding samples in the Samples section:
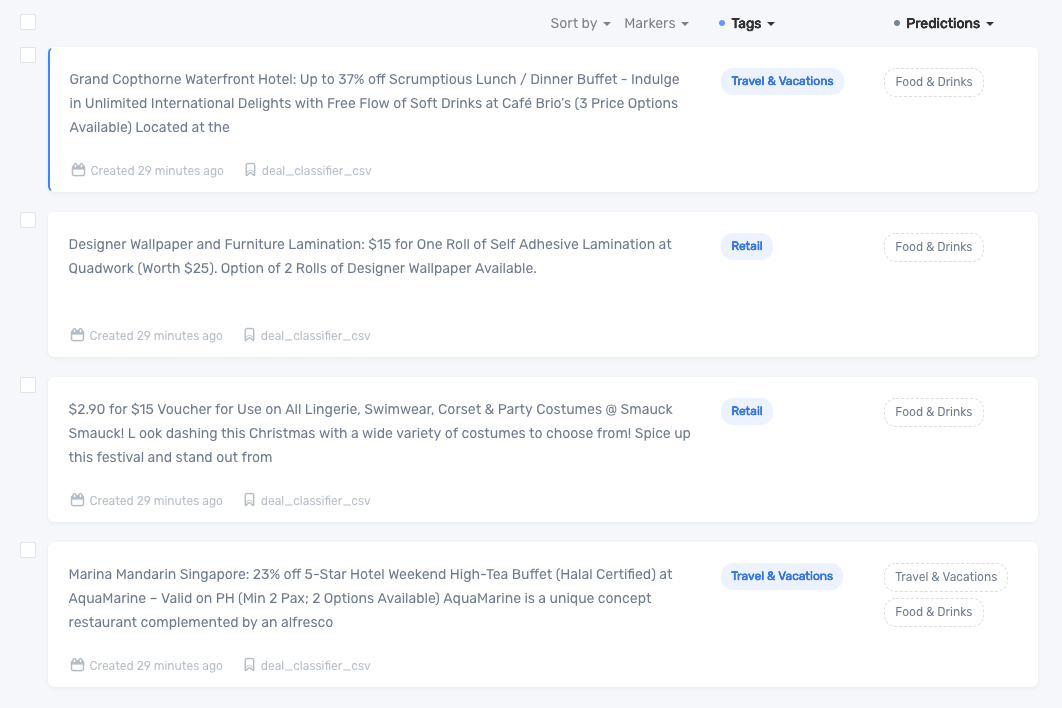
Samples from other tags that were predicted as Food & Drinks (false positives)
Here you can fix the problem as we described in the previous sections when the solution is to tag or retag samples:
- You can select samples in the left checkbox or use the shortcut X or Space keys.
- You can paginate by using the left and right arrow keys.
- You can delete or move samples to tags by using the Actions menu after selecting the corresponding samples.
- See shortcuts by hitting Ctrl + h.
Keyword Cloud
You can see the keywords correlated to each tag by selecting the corresponding tag in the Stats tab:

Keyword cloud for the Food & Drinks tag.
Tips on improving the Keywords:
- Check if the keywords that were used to represent samples (dictionary) correlated to each tag make sense.
- Discover keywords that should not be in the dictionary or should not be correlated with that particular tag.
- You can see a more detailed list of keywords and their relevance by clicking the Keyword List link below the keyword cloud.
- You can click a particular keyword (either in the cloud or the list) to filter the samples that match with that specific keyword.
- Filter undesired keywords by adding the particular string to the stopwords list (see Parameters section below).
- If a keyword that is useful to represent your tag is missing from your list of keywords, try adding more data to your model that uses that specific term.
Parameters
You can set special parameters in the classifier that affect its behavior and can improve the prediction accuracy considerably.
Tips on improving Parameters:
- Add keywords to the stopword list if you want to avoid them to be used as keywords by the classifier.
- Use Multinomial Naive Bayes when developing the classifier as it gives you more insights on the predictions and debugging information. You should switch to Support Vector Machines when finishing developing the classifier to get some extra accuracy.
- Enable stemming (to transform words into its roots) when useful for your particular case.
- Try increasing the max features parameter to maximum 20,000.
- Don't filter default stopwords if you're working with sentiment analysis.
- Enable Preprocess social media when working with social media texts like tweets or Facebook comments.
Final words
Machine learning is a powerful technology but to have an accurate model, you may need to iterate until you achieve the results you are looking for.
To achieve the minimum accuracy, precision and recall required, you will need to iterate the process from step 1 to 5, that is:
Refine your tags.
Gather more data.
Tag more data.
Upload the new data and retrain the classifier.
Test and improve:
- Metrics (accuracy, precision, and recall).
- False positives & false negatives.
- Confusion matrix.
- Keyword cloud and keyword list.
- Parameters.
This process can be done with two options:
- Manually tagging the additional data.
- Bootstrapping, that is, use the currently trained model to classify untagged samples and then verify that the prediction is correct. Usually checking the tags is easier (and faster) than manually tagging them from scratch.
Besides adding data, you can also improve your model by:
- Fixing the confusions of your model,
- Improving the keywords of your tags,
- Finding the best parameters for your use case.
Text data is key in this process; if you train your algorithm with bad examples, the model will make plenty of mistakes. But if you can build a quality dataset, your model will be accurate and you will be able to automate the analysis of text data with machines.

Raúl Garreta
January 31st, 2017


