What is Text Classification?

Unstructured text is everywhere, such as emails, chat conversations, websites, and social media. Nevertheless, it’s hard to extract value from this data unless it’s organized in a certain way.
Doing so used to be a difficult and expensive process, since it required spending time and resources to manually sort the data.
Text classifiers with NLP have proven to be a great alternative to structure textual data in a fast, cost-effective, and scalable way.
What Is Text Classification?
Text classification also known as text tagging or text categorization is the process of categorizing text into organized groups. By using Natural Language Processing (NLP), text classifiers can automatically analyze text and then assign a set of pre-defined tags or categories based on its content.
Text Classification Examples
Text classification is becoming an increasingly important part of businesses as it allows to easily get insights from data and automate business processes. Some of the most common examples and use cases for automatic text classification include the following:
Sentiment Analysis: the process of understanding if a given text is talking positively or negatively about a given subject (e.g. for brand monitoring purposes).
Topic Detection: the task of identifying the theme or topic of a piece of text (e.g. know if a product review is about Ease of Use, Customer Support, or Pricing when analyzing customer feedback).
Language Detection: the procedure of detecting the language of a given text (e.g. know if an incoming support ticket is written in English or Spanish for automatically routing tickets to the appropriate team).
How to Create a Text Classifier
If you don’t want to invest too much time learning about NLP, the underlying infrastructure, or deploying classifiers, you can use MonkeyLearn, a platform that makes it super easy to build, train, and consume text classifiers.
To build your own classifier, you’ll need to sign up for a MonkeyLearn account and follow these simple steps:
1. Create a Classifier
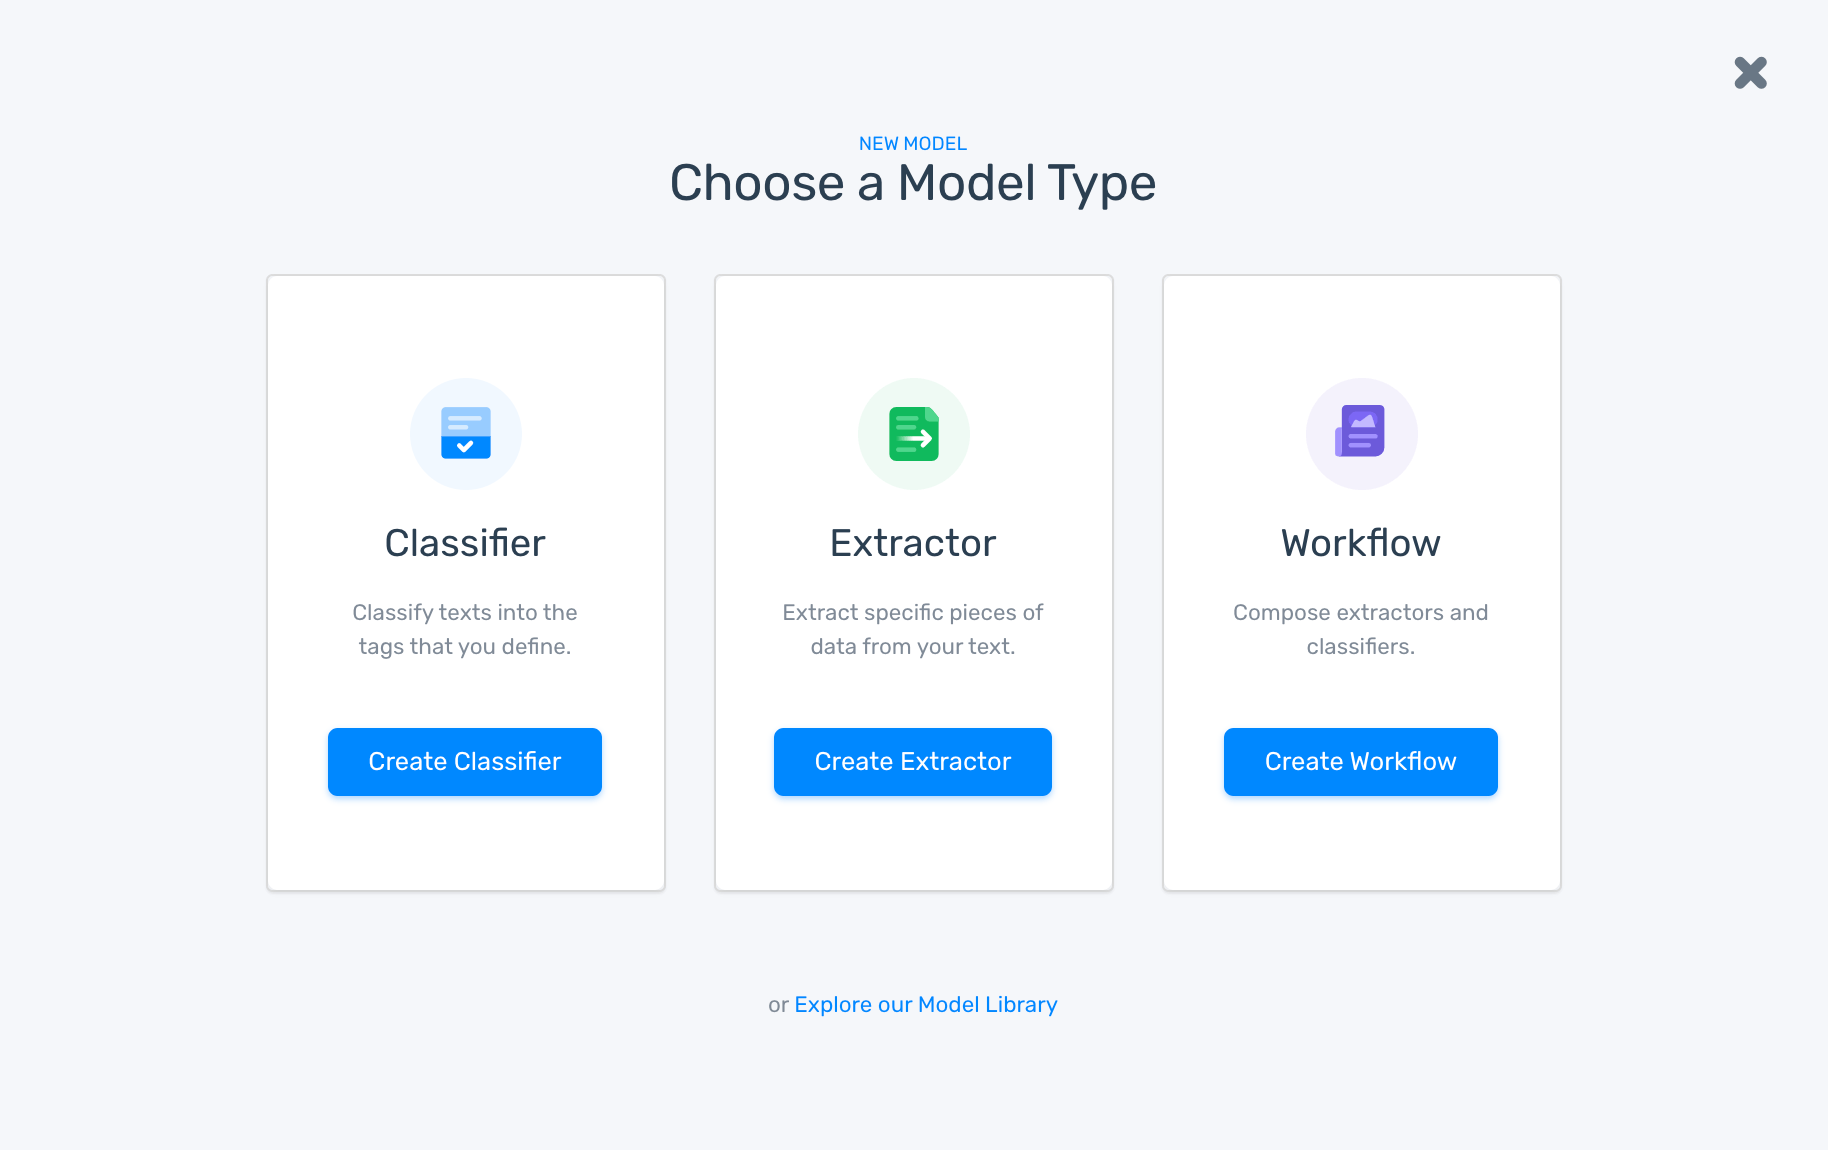
Login to the MonkeyLearn dashboard and click Create a Model. You’ll need to specify which type of model you want to create, choose Classifier:
2. Import your Text Data
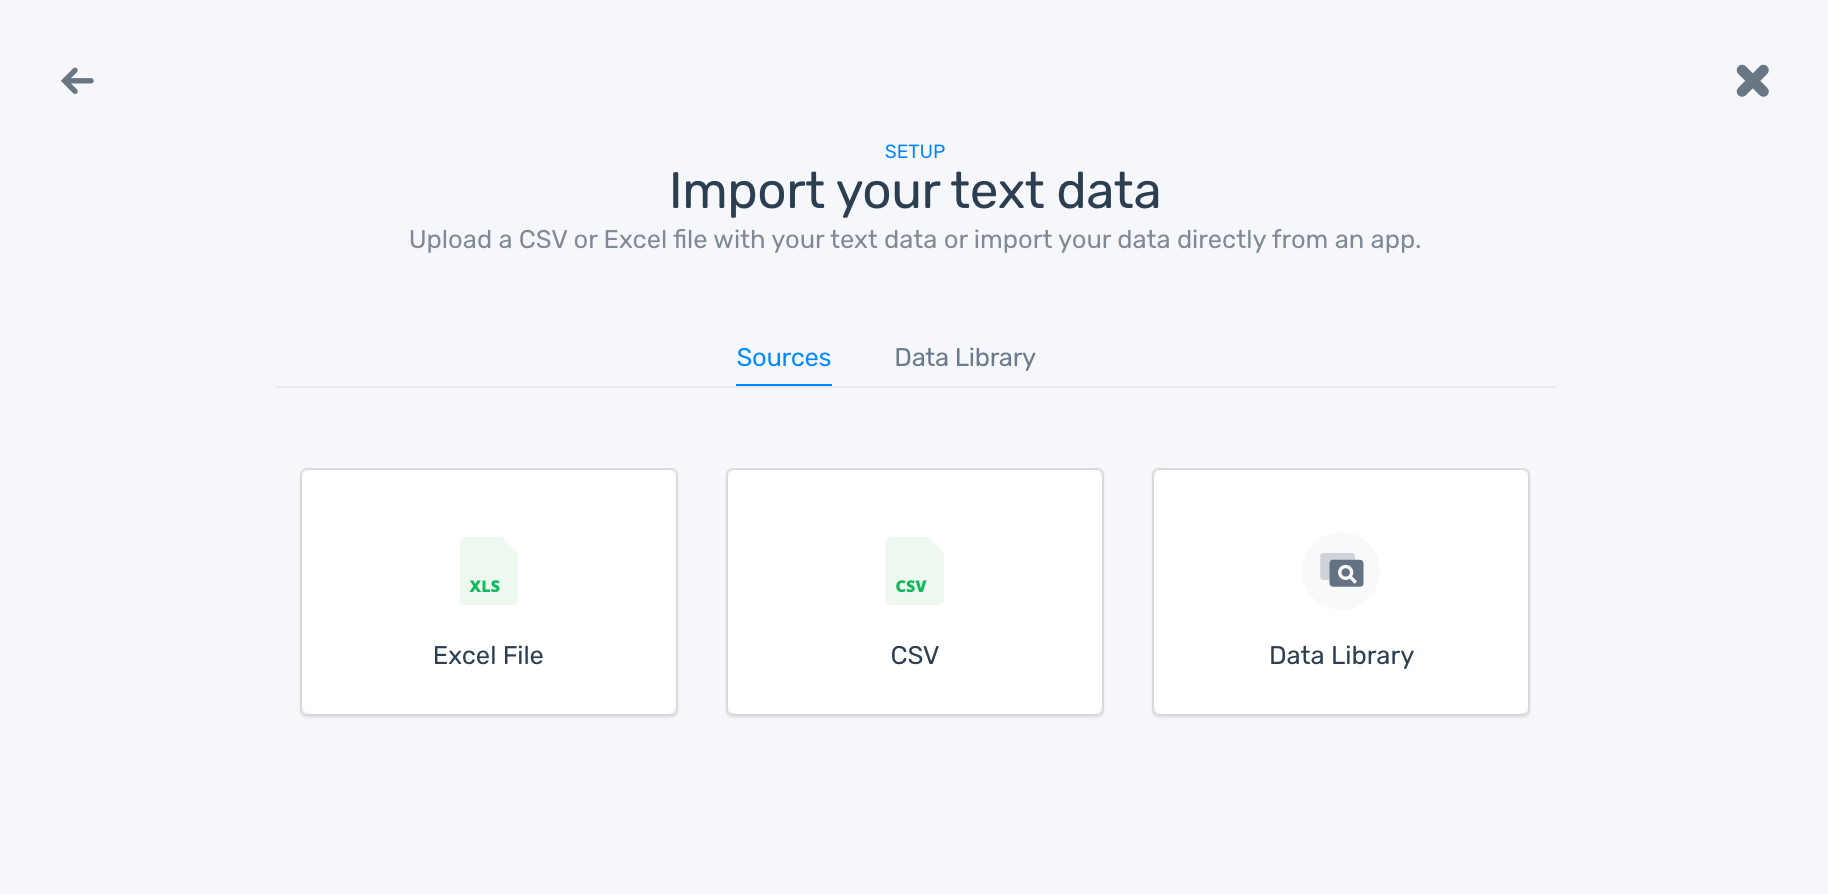
Next, you’ll need to import the text you want to use for training your classifier. You can do this by uploading a CSV or Excel file:
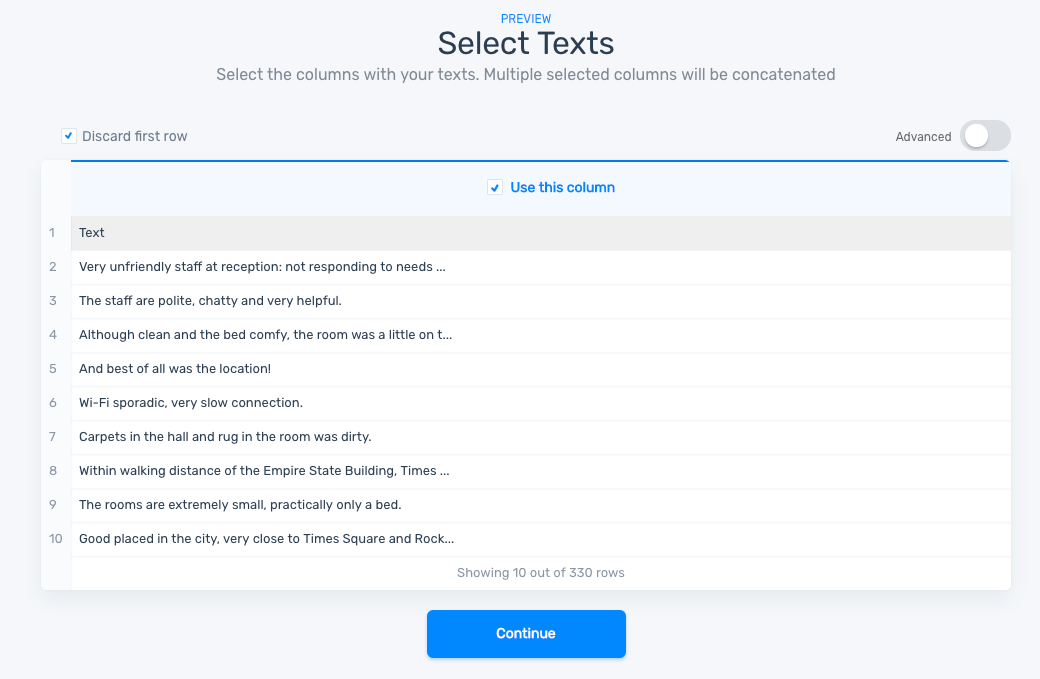
Then, you’ll need to select the columns that contain the text examples you want to use for training the classifier:
3. Define the Tags for your Classifier
Now, you’ll need to define the tags that you will use for the text classifier. These are the categories or buckets that your model will make predictions for:

Tips for defining tags
While defining your tags, avoid using tags that are ambiguous or overlapping as this can cause confusion to your classifier and affect its accuracy.
Also, it’s a good idea to structure your tags and build a hierarchical text classification process. This means that you should organize your tags according to their semantic relations.
For example, say that you want to classify product descriptions and use the following tags: Electronics, Computers, Cell Phones, Clothing, and Automotive. In this case, Computers and Cell Phones should be subtags of Electronics as they are a specific type of electronics. So, in this case, it’s recommended to create a hierarchical structure with your tags and therefore build 2 classifiers: one that is able to classify product descriptions using the top level tags (Electronics, Clothing, and Automotive) and a second one that categorizes using the Electronics subtags (Computers and Cell Phones).
4. Tag your Data
Now that you have imported your text data and defined the tags for your classifier, it’s time to tag each text example with the appropriate tags and start training the model.
By labeling examples, you’ll be teaching the classifier that for a particular input (text), you expect some particular output (tags):

As you tag examples, the classifier will learn from your classifications and will begin to make suggestions. This will give you direct feedback on how accurate the classifier is at making predictions. Take into account that the more text you tag, the more accurate the classifier will be.
5. Testing and Improving the Text Classifier
Once you finish the creation wizard of a classifier, you will be able to test the model by writing text in "Run" > “Demo”. You will get to see what the predictions will be for the texts you write:
MonkeyLearn provides some useful statistics (Accuracy, F1 Score, Precision and Recall) which can help you understand how well your classifier is making predictions:
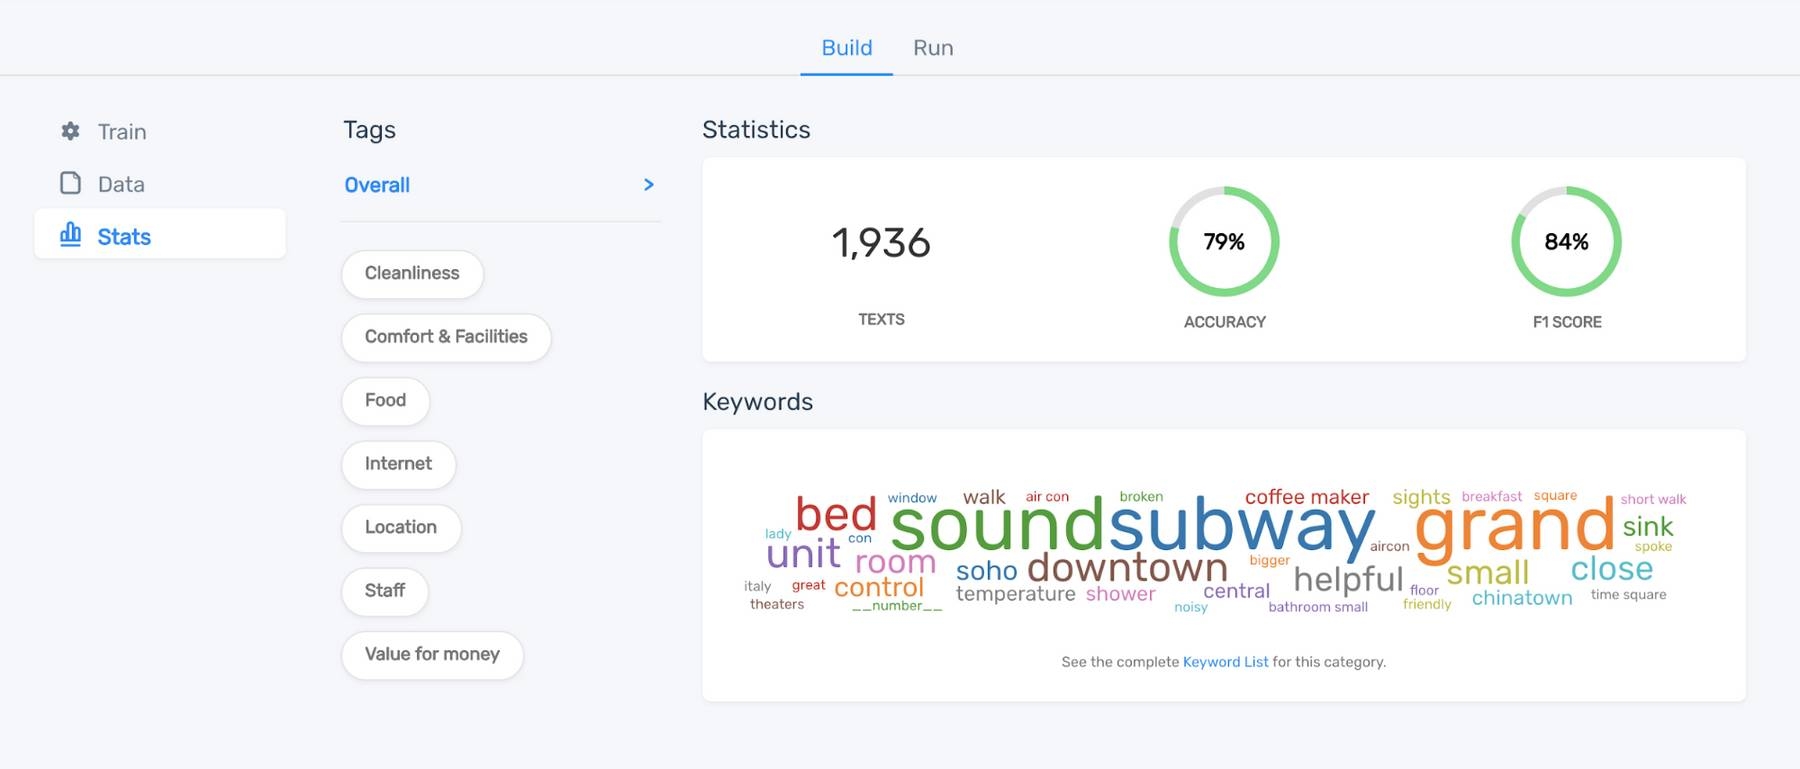
Check out this useful article to learn what to do when you want to improve these metrics and the overall performance of your classifier.
6. Analyzing New Data with the Classifier
Once the predictions are good enough, you can use the classifier to analyze and categorize new unseen text. MonkeyLearn provides a number of ways to make this happen: batch processing, API or integrations.
You can upload a CSV or Excel file to classify text in a batch:
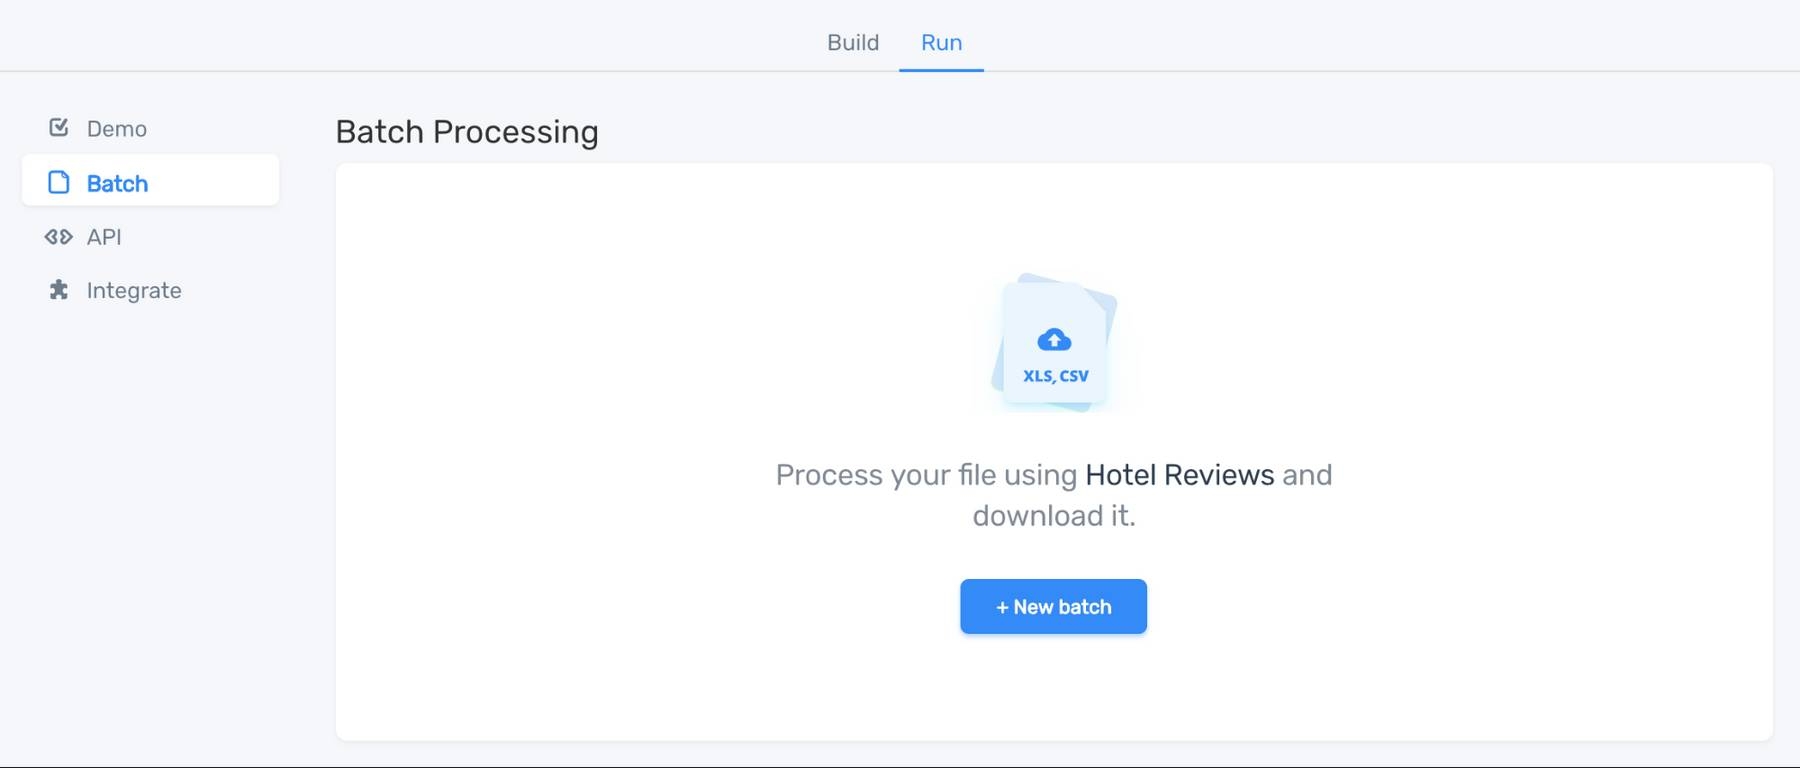
Once you have uploaded the file, the classifier will analyze the text data and return a new file with the classifications added to the original file in a new column.
Another option is using the API with your favorite programming language to automatically classify text programmatically:

As an alternative, you can use the available integrations to connect MonkeyLearn with hundreds of applications to classify your text data (no coding required!):

Final Words
Text classification is not only fun, but it’s also a powerful tool for extracting value from unstructured data.
It feels like magic when you analyze thousands of texts in just a few seconds and automatically get information such as topic, sentiment, or language.
Sign up for free to MonkeyLearn or request a demo and get started right away!


